Understanding Message Templates
Message Templates allows businesses to send well-organized messages to stakeholders including media (file/audio/video), customized contents for each recipients base on specific parameters. Template Messages must be approved before sending them.
Step-by-step process on “How to create and manage message templates” in Zsuite, Quick and Easy with this video.
Click on the menu and select message templates.

Drafts: Here all the drafted messages will be listed.
Message Details
Message Template Name: The user can enter the Message Template Name
Message Template Description: The user can enter the Message Template Description / Details.
Message Templates can be created and maintained for Incident or Threat Alerts, Issue Status Shipping Track Updates, Downtime Updates, etc..,
Speech: Select the speech Text to Speech / Use a voice recording from the radio buttons.
Drafts
After creating the Template, click on Save then the template navigates to the Drafts page.
Here you can edit some message details Message Template Name, Message Template Description, Message etc
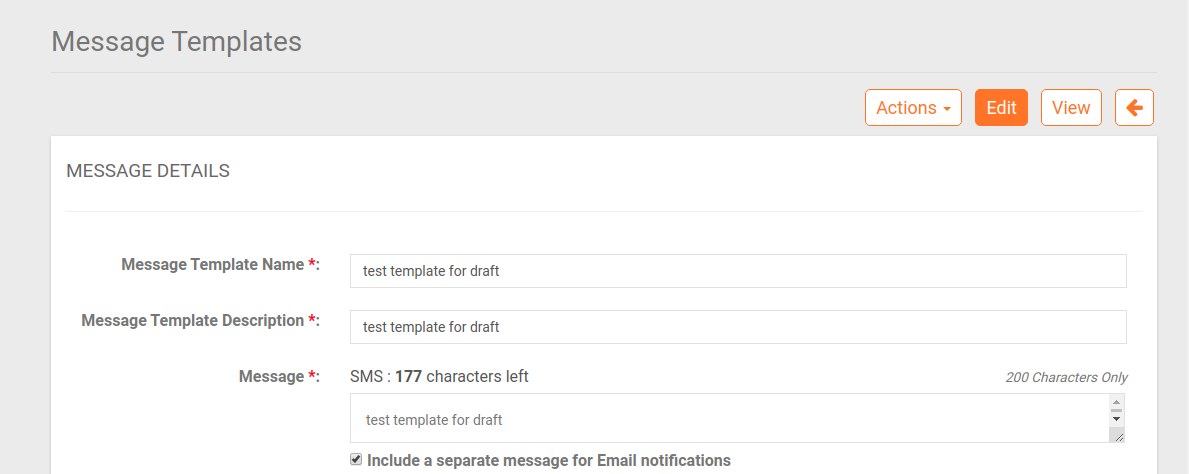
If you include a separate message for Email notifications, you can edit Email subject, email etc
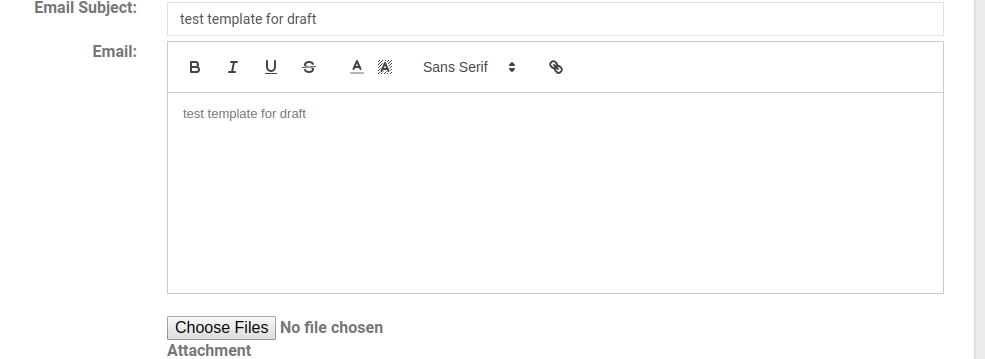
You can attach files by clicking on choose files.
Creating a Template: To create a new Template click on Create Template which you can see on the screen.

You will be directed to a New Message Template Page. Here you can give some mandatory details like Message Template Name, Message Template Description, and Message.
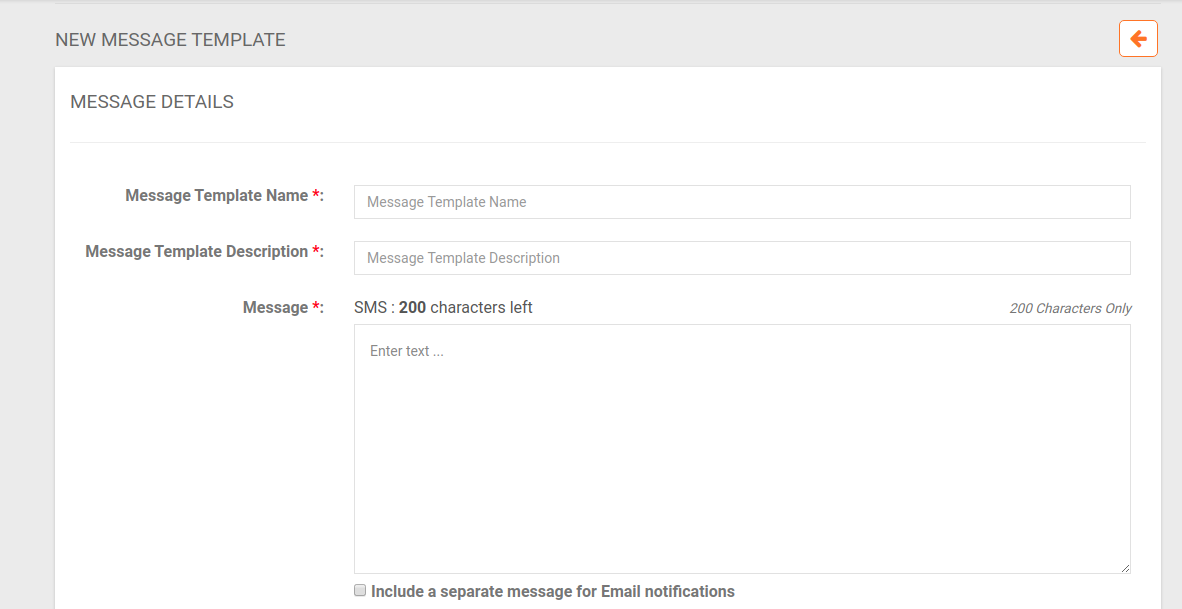
Email: Here you can include a separate message for Email notifications by clicking on the check box given.
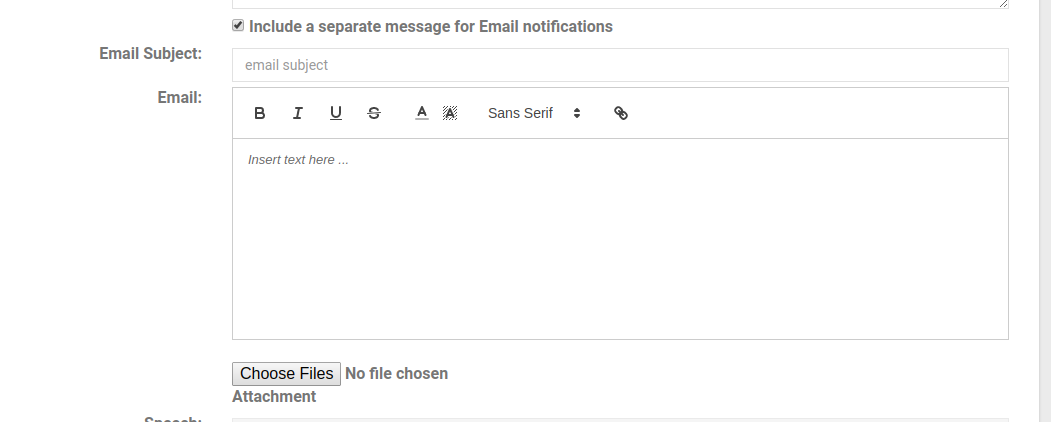
For Email, you have to fill in the details like Email subject, email message and you can attach files also, same as in a Mail.
Speech: Here you can select Text to speech, use a voice recording and None.
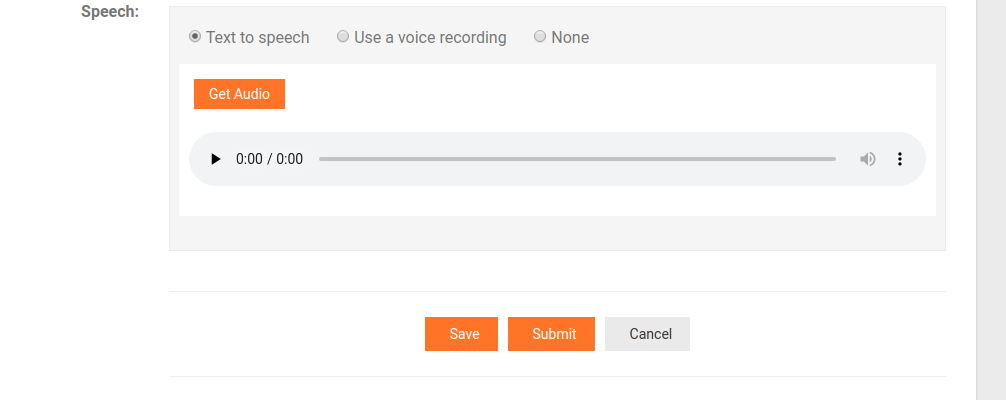
Text to speech: Here the Description you gave in the Text will be changed into speech and sent.
Use a voice recording:
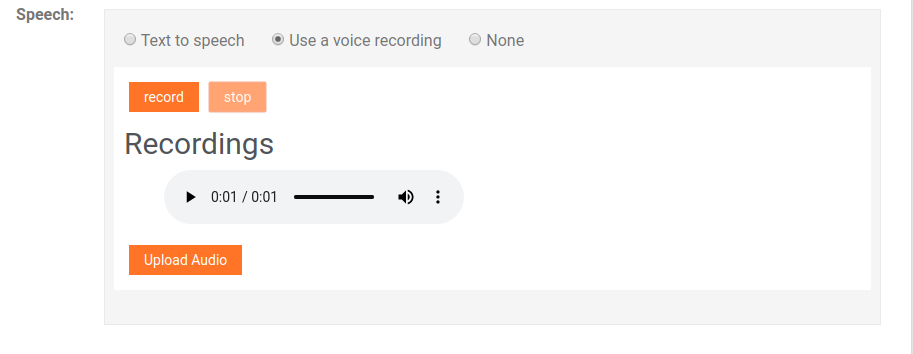
You can record audio or can upload audio.
Edit Drafts Template
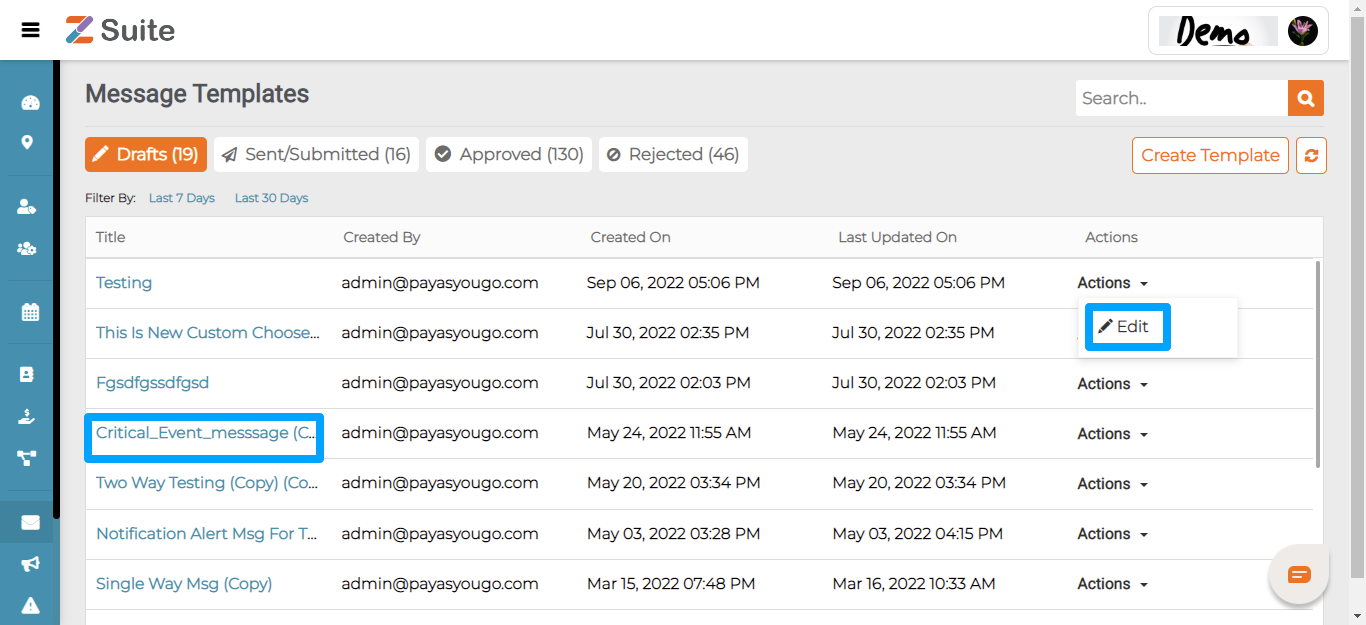
Click on “Drafts Title “ or on the “Actions” dropdown and click on “Edit”
The user will be redirected to the “ Drafts details “ page.
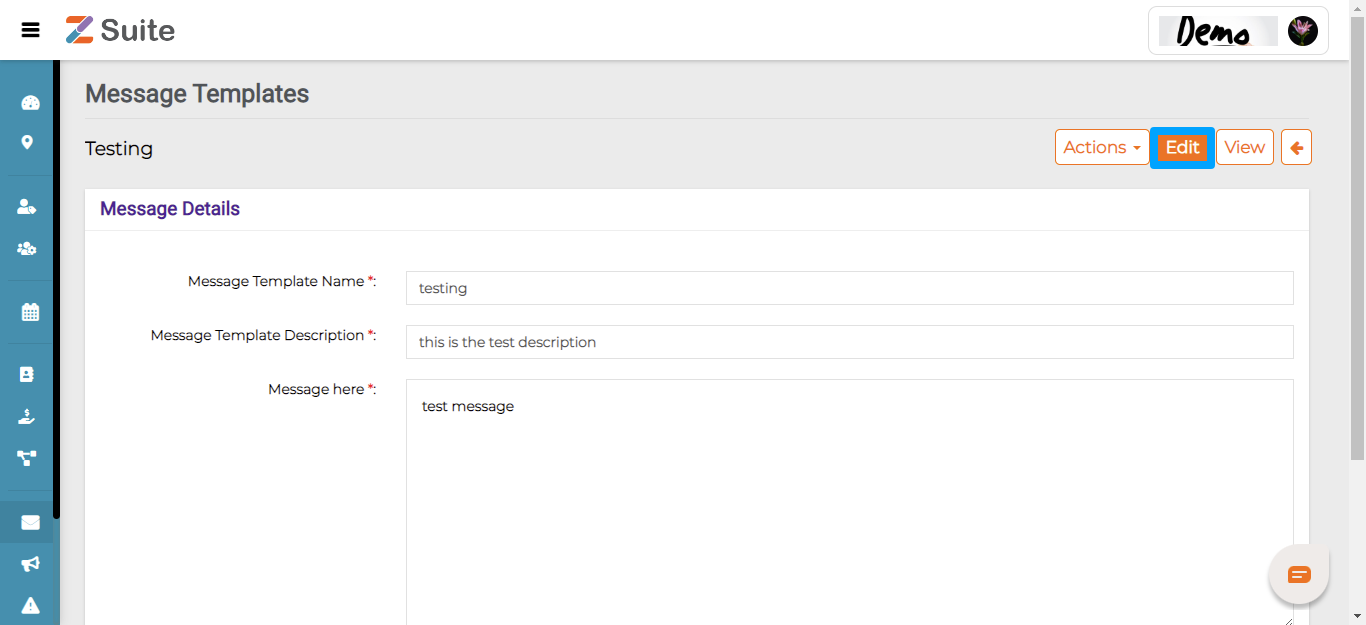
The user can Edit the details and click on the “Save” button.
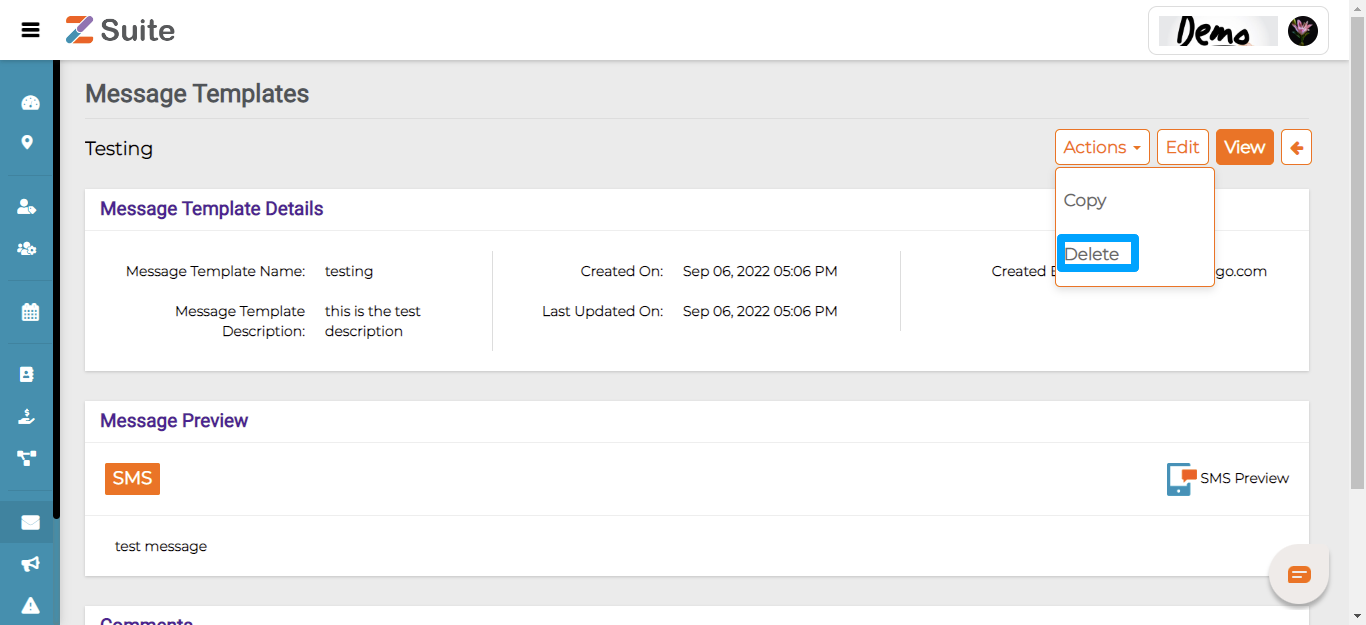
Delete Drafts Template
Click on “Drafts Name” or on the” Actions” dropdown and click on “Delete”.

The user will be redirected to the “Drafts details” page. Click on Actions and click on “Delete”.
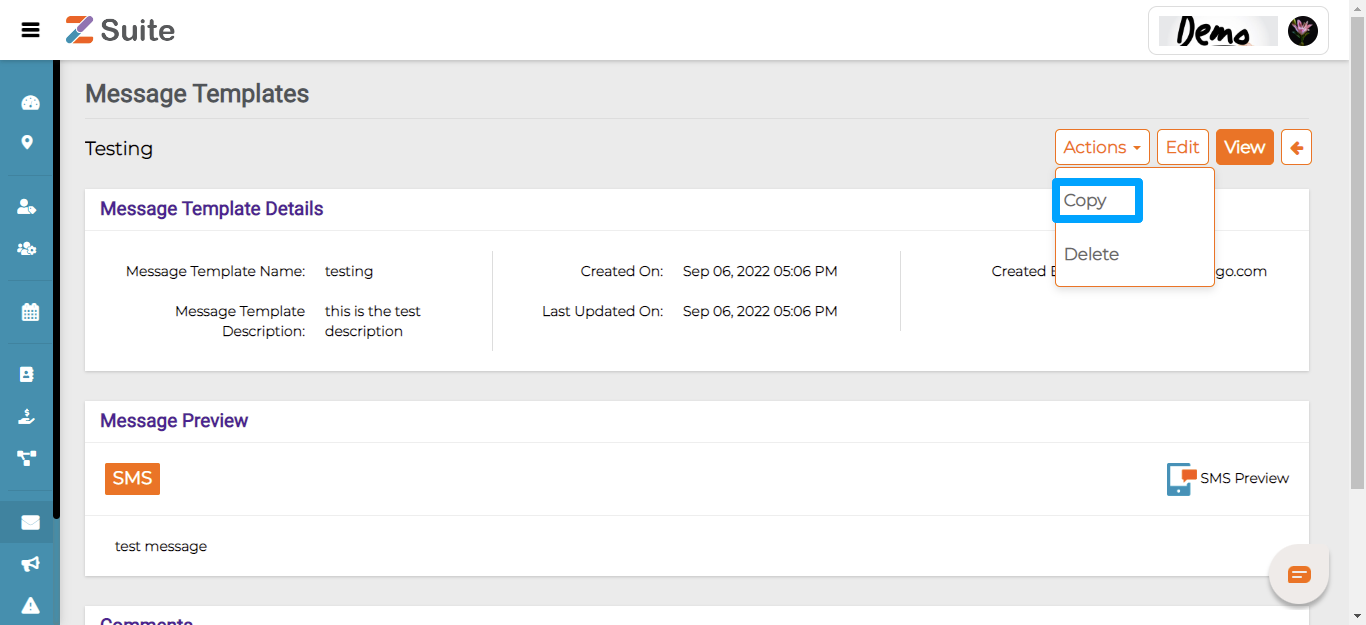
Copy Drafts Template
Click on the Drafts name or on the “Actions” dropdown and click on “Copy”.

The user will be redirected to the “Drafts details” page, Click on the “Actions” dropdown and click on “Copy”.
Note:
- After creating the template user clicks on Save the template and navigates to the Drafts tab
- After creating the template user clicks on Submit, the template navigates to Sent / Submit tab

