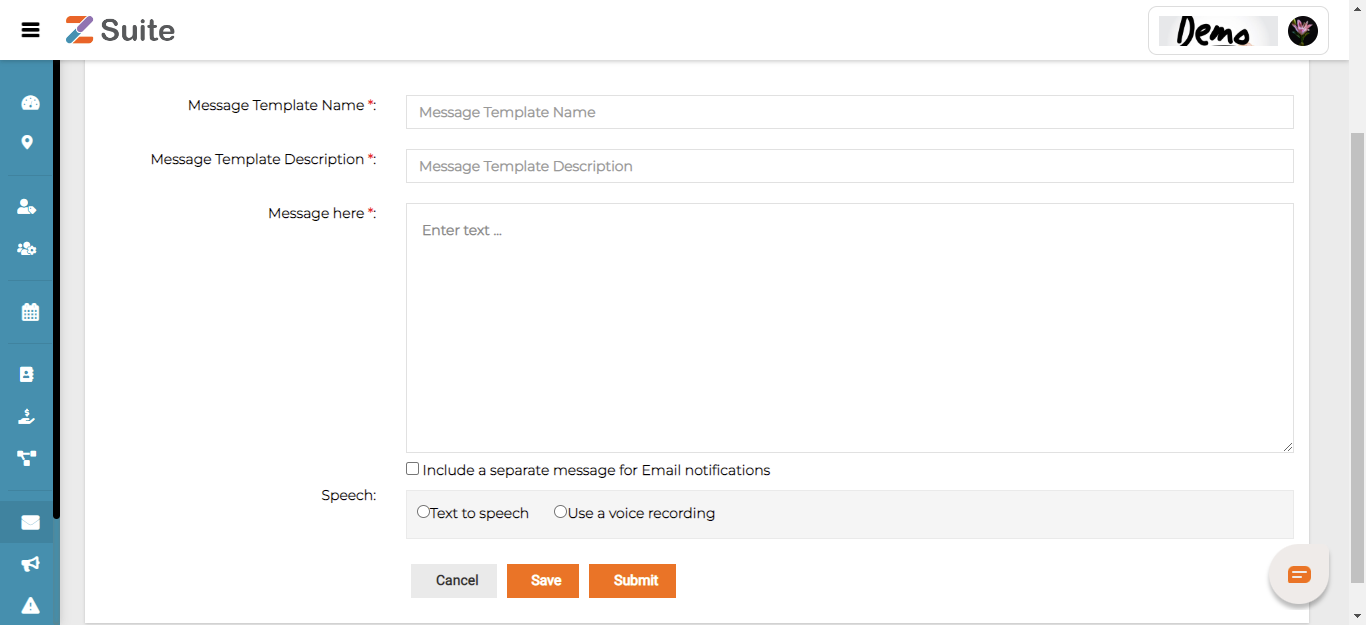
Recur Notification
Recur: Recurring notifications allow organizations to send messages as reminders at regular intervals. Messages can be resent on daily, weekly, monthly and yearly frequencies.
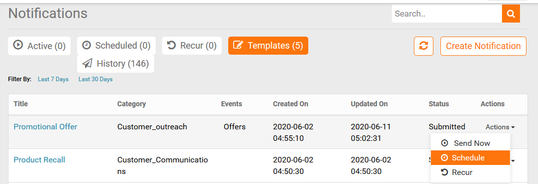
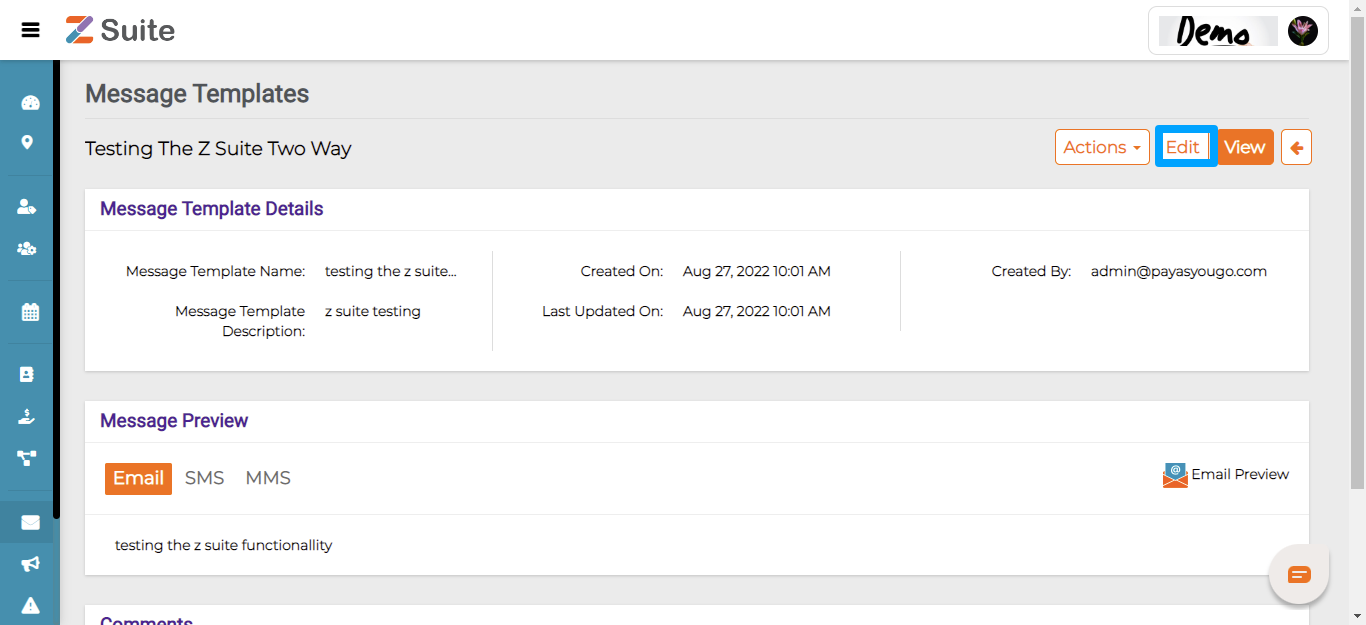
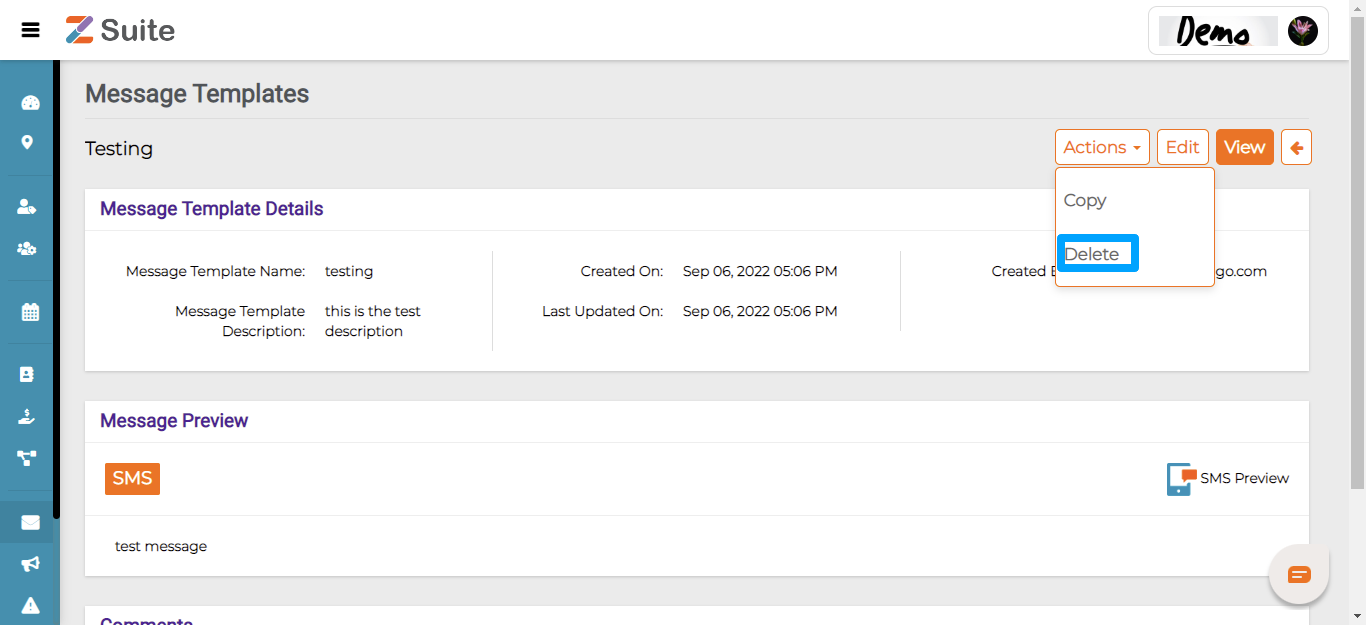
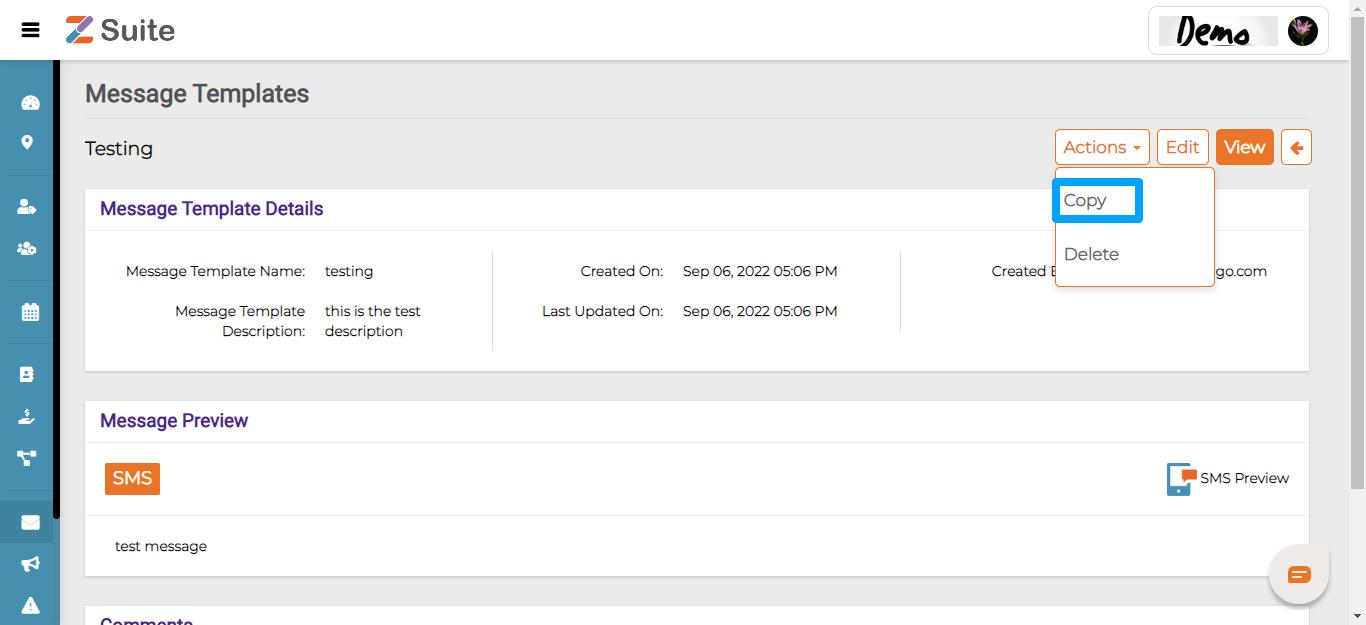
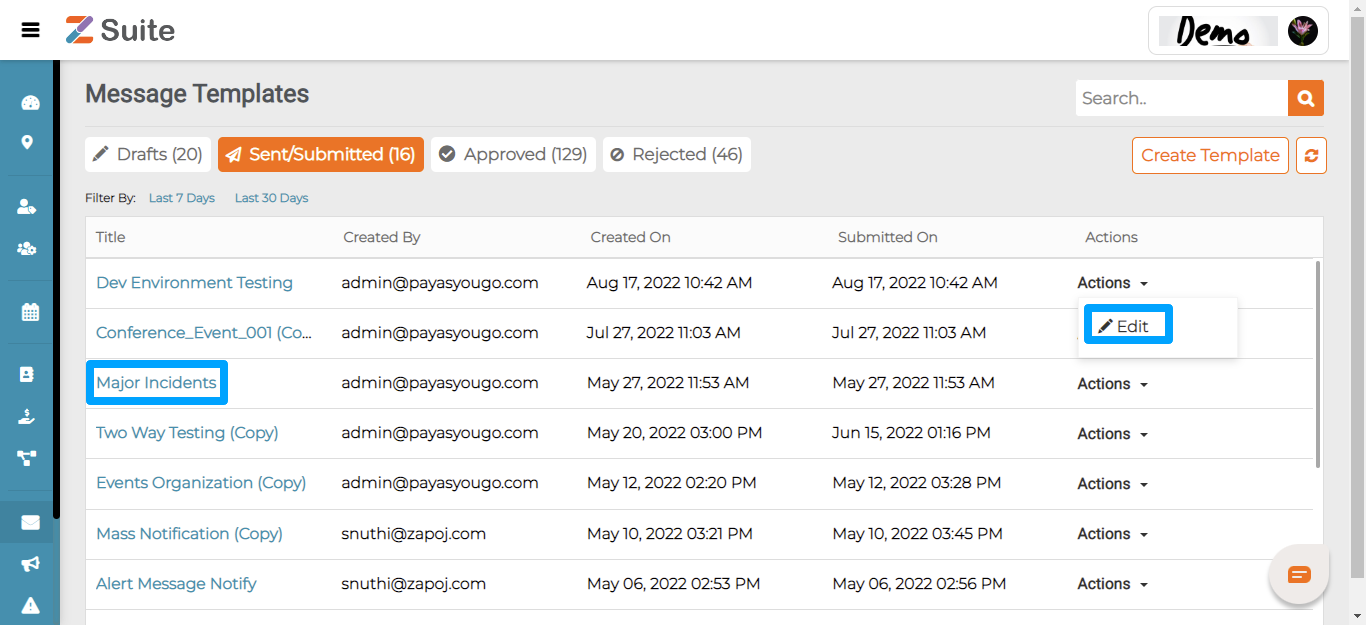
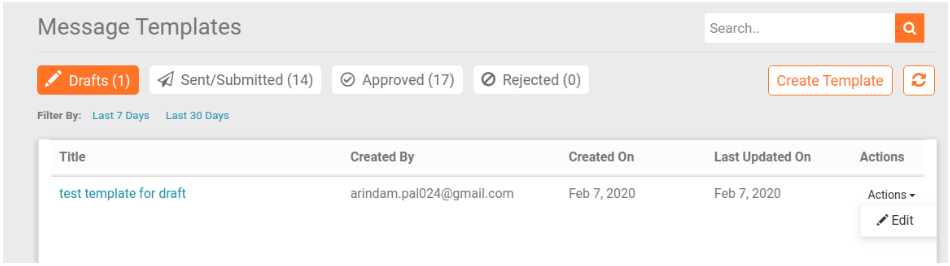
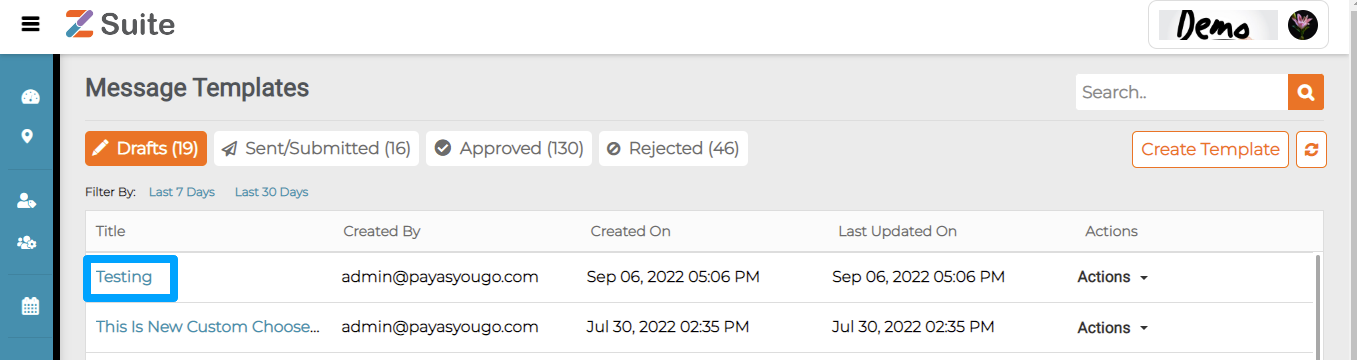
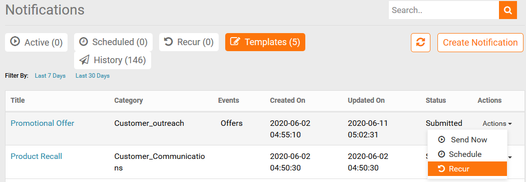
For Notification Recurrence, go to Templates -> Actions -> Recur.
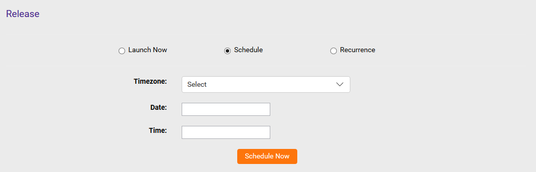
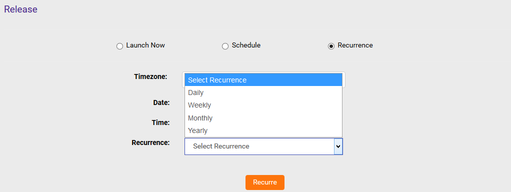
After clicking on Recur you will be directed to another page where you have to fill Notification Recurrence details like Time zone, Date, Time, Recurrence like Daily, Weekly, Monthly, or Yearly.
Daily: If you select to recur daily you have to fill in the following details.
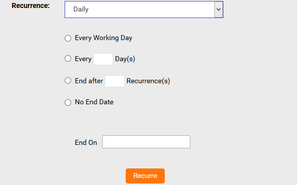
You can select every working day, every specific number of days, end after specific number of recurrences, No End Date or End on a specific Date.
Every Working Day: Select this to send notification every working or business week day.
Every Specific Number of Days: Select this to send notification every specifc number of days like every single day or every 7 days.
End After Number of Recurrences: Select this to end notification after a specific number of recurrences like 3 or 5, etc., as needed.
No End Date: Select this to send notification continuously with no end date.
End On: Select this to send notification till the specified end date.
Weekly: If you select weekly you have to give the following details.
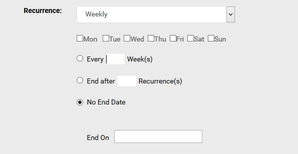
Select the days on which the notification should be sent on like every Friday or every weekday.
Every Specific Number of weeks: Select this to send notification every specific number of weeks like every single week or every few weeks.
End After Number of Recurrences: Select this to end notification after a specific number of recurrences like 3 or 5, etc., as needed.
No End Date: Select this to send notification continuously with no end date.
End On: Select this to send notification till the specified end date.
Monthly:
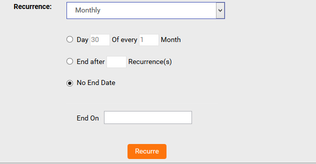
Give a day number of every month (give month number).
Day of every Month: Select the specific number of day of a specific number of month in which the notification should be sent on like every 15th day of 12th Month (December).
End After Number of Recurrences: Select this to end notification after a specific number of recurrences like 3 or 5, etc., as needed.
No End Date: Select this to send notification continuously with no end date.
End On: Select this to send notification till the specified end date.
Yearly:
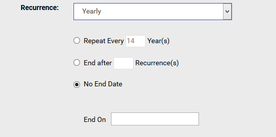
Repeat every Number of Years : Select the specific number of years in which the notification should be cycled repeatedly. Every 1 Year or every 5 years.
End After Number of Recurrences: Select this to end notification after a specific number of recurrences like 3 or 5, etc., as needed.
No End Date: Select this to send notification continuously with no end date.
End On: Select this to send notification till the specified end date.
After filling required details click on Recur
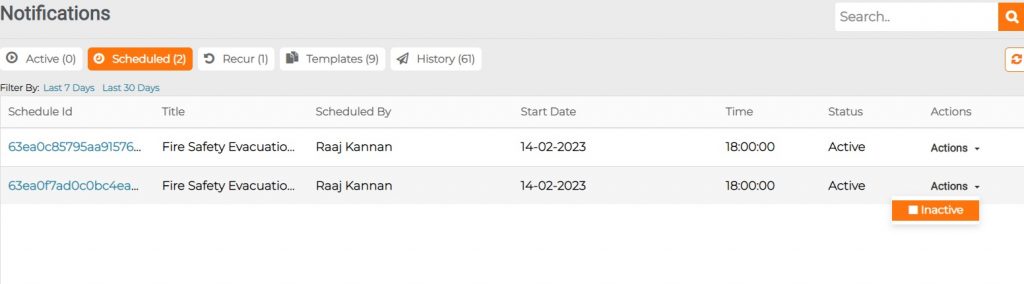
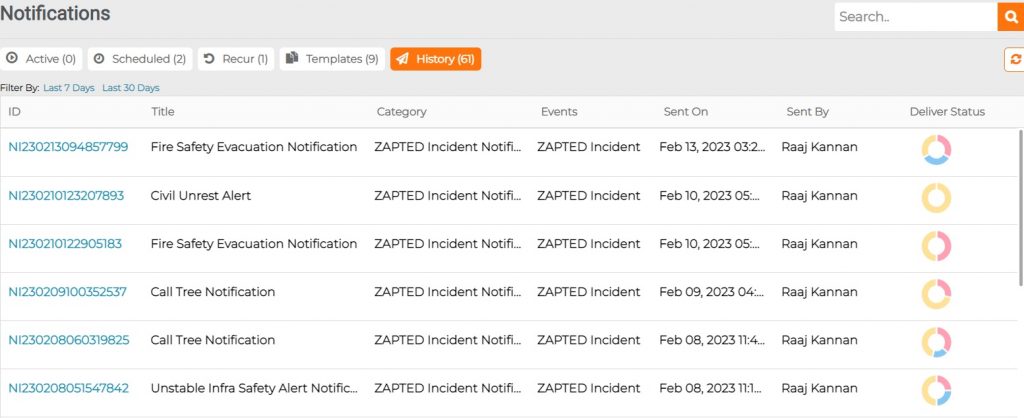
This is where you can view all the recurring notifications.
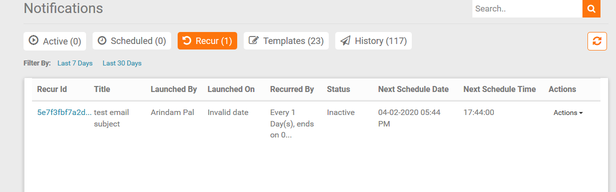
Viewing a Recurring Notification:
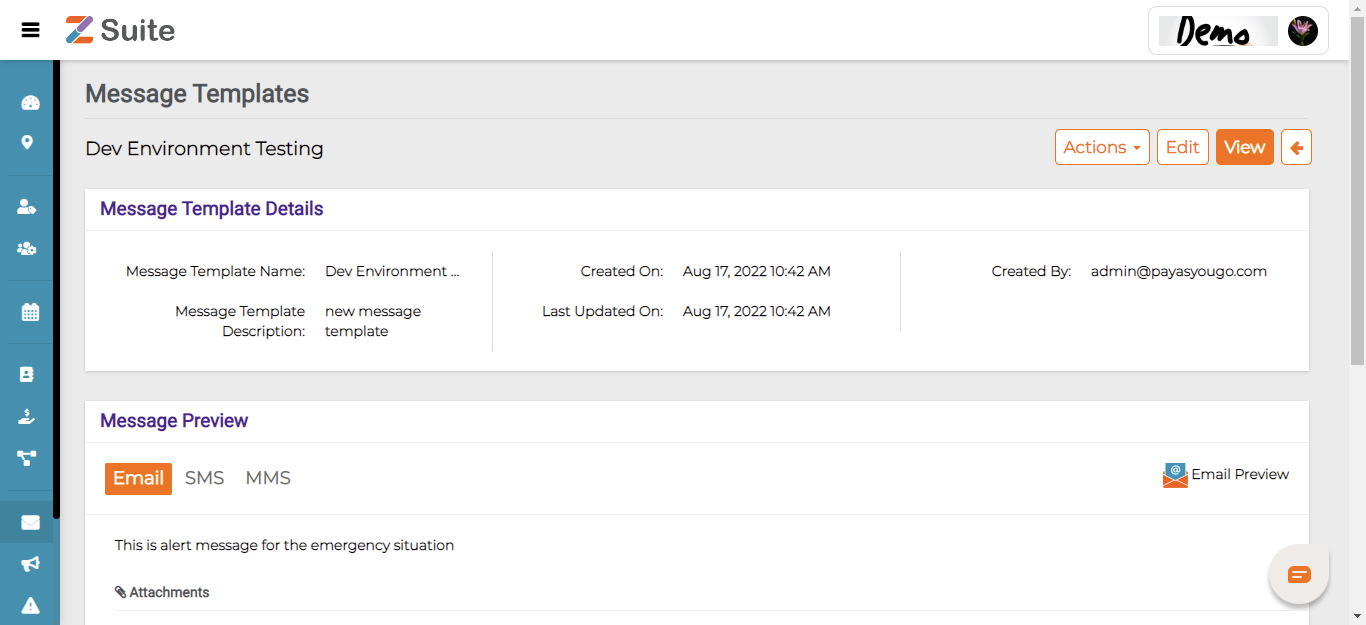
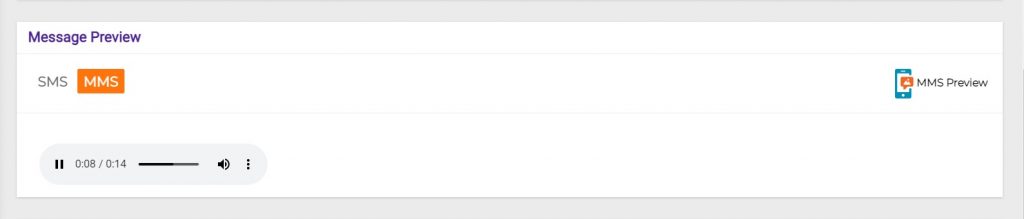
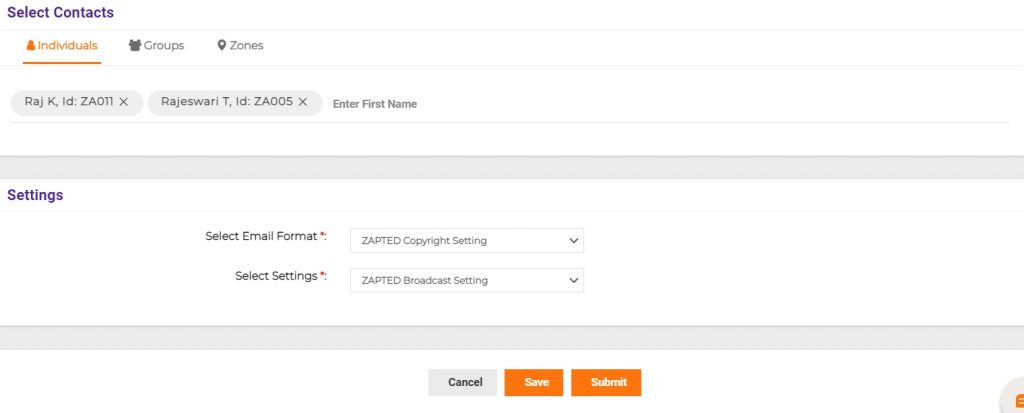
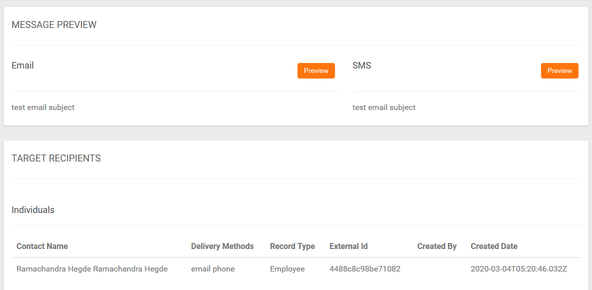
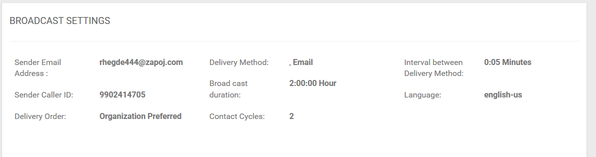
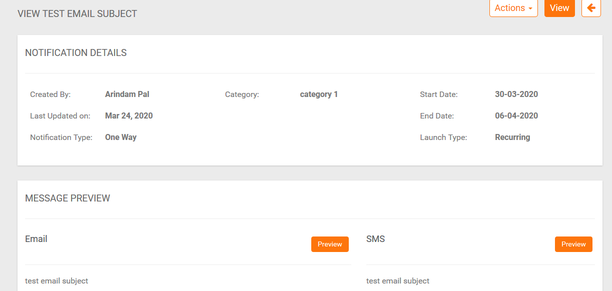
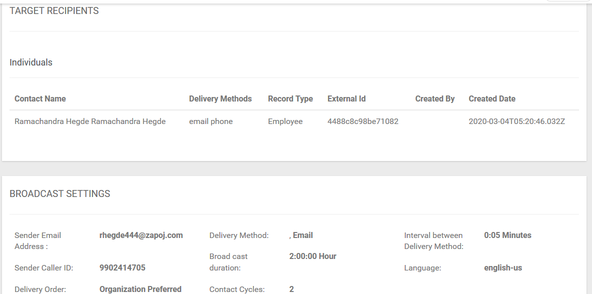
Click on Recur Id to view. Here you can view Notification details, Message preview, Target recipients and Broadcast settings.
Inactivate a Recurring Notification:
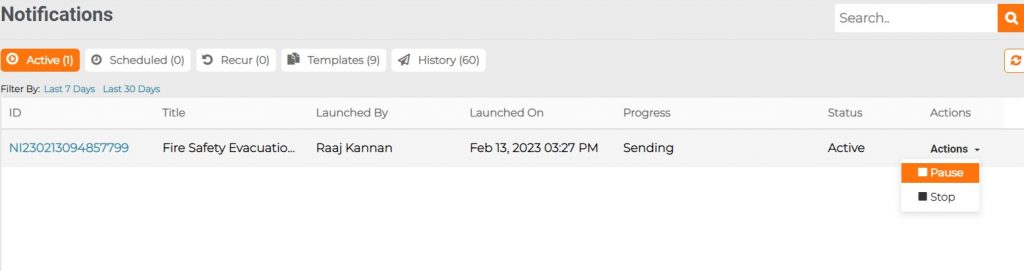
To inactivate a recurring notification which is currently active, click on Actions > Inactive.

OR