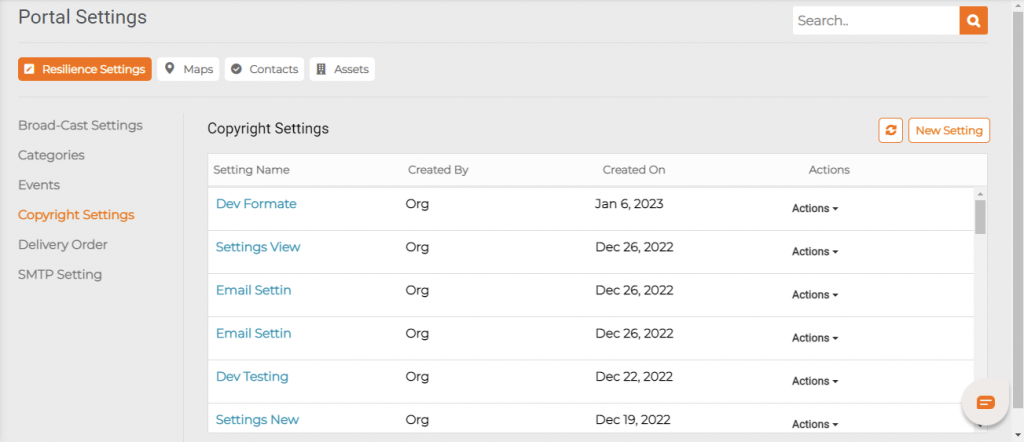
Portal Settings Terminology
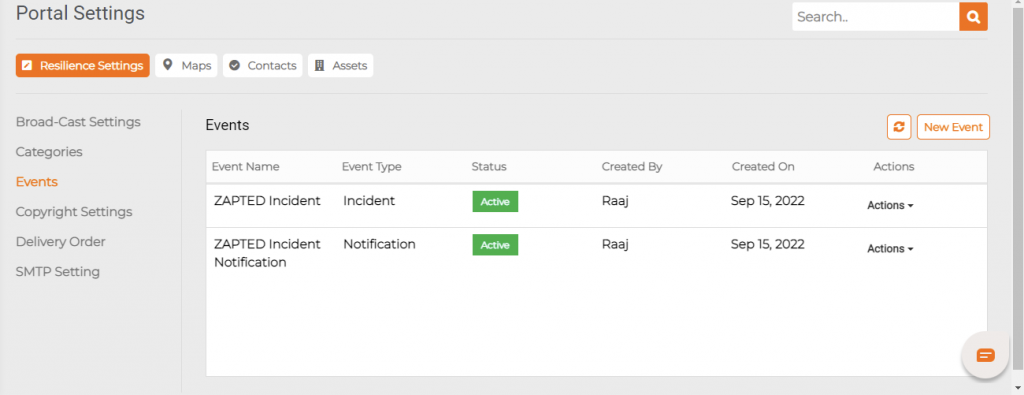
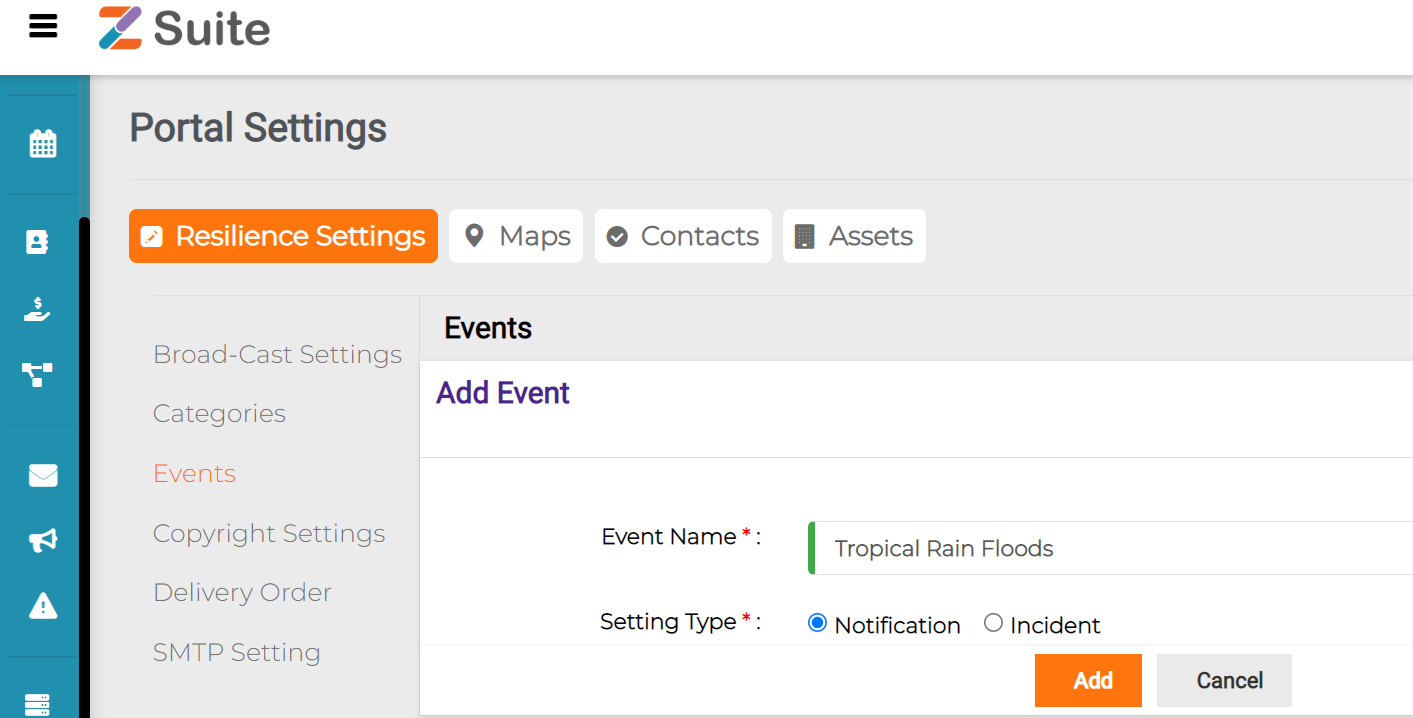
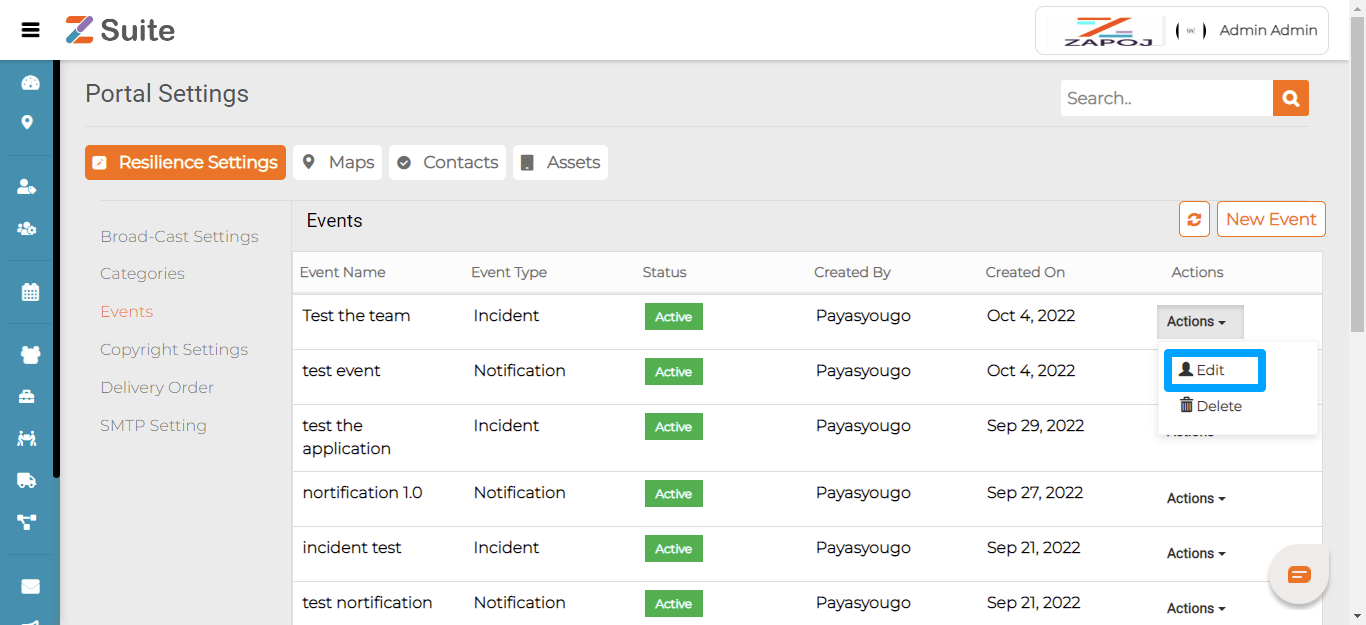
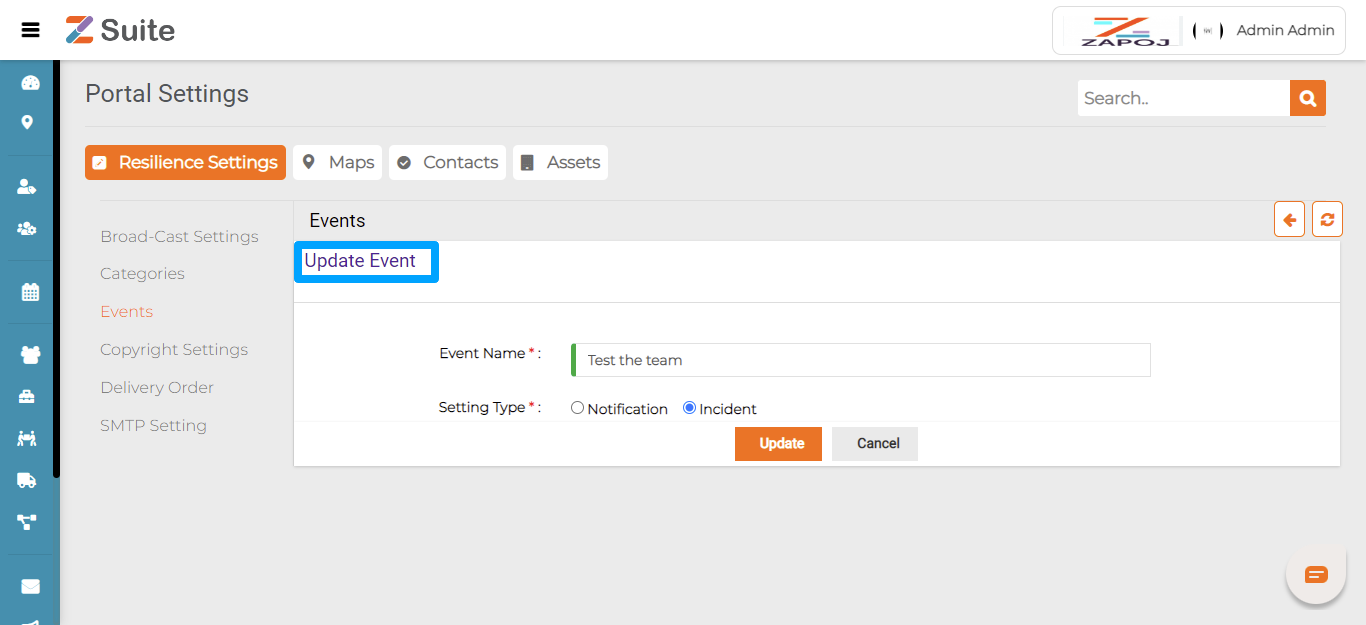
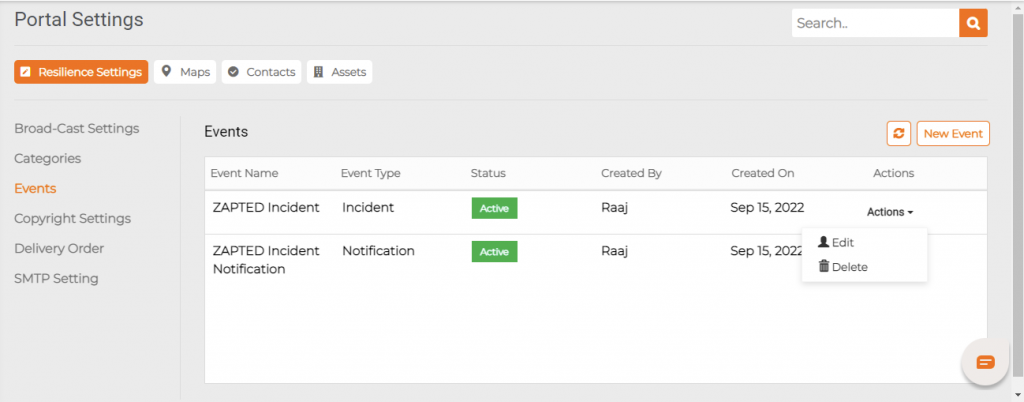
Critical Event: A Critical Event is an occurrence that causes a business disruption. Example: IT outages, supply chain disruptions, man-made events like active shooters, natural events like earthquakes or Pandemic like Covid-19.
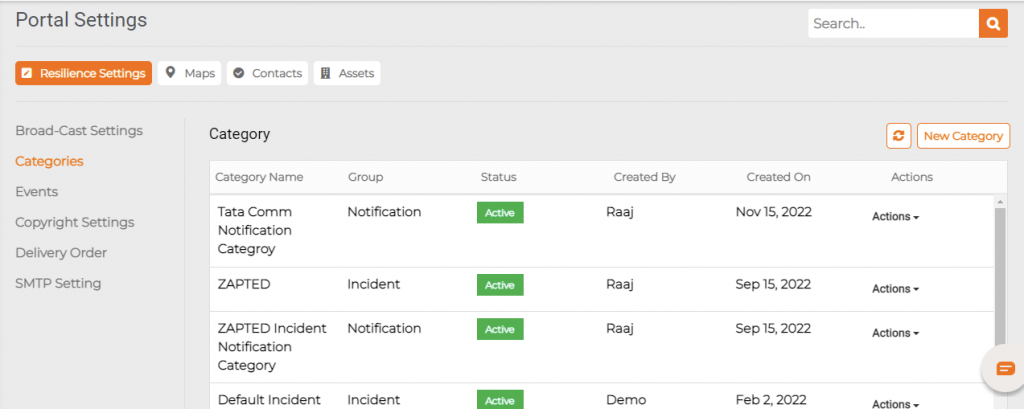
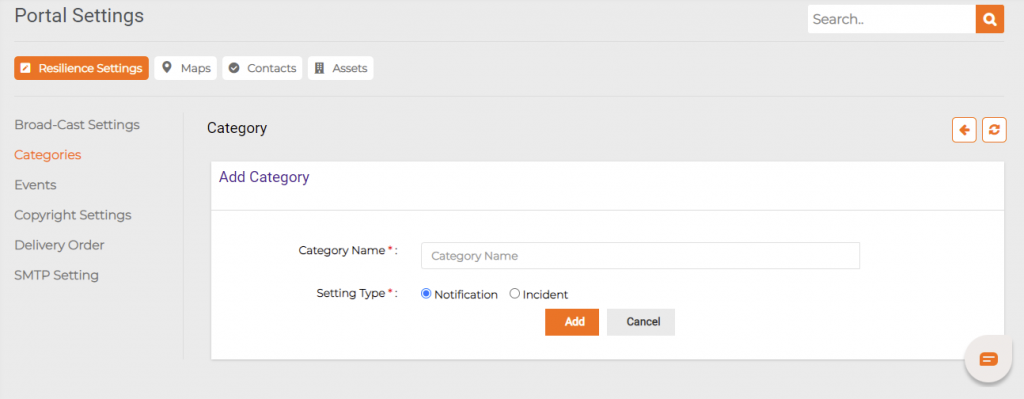
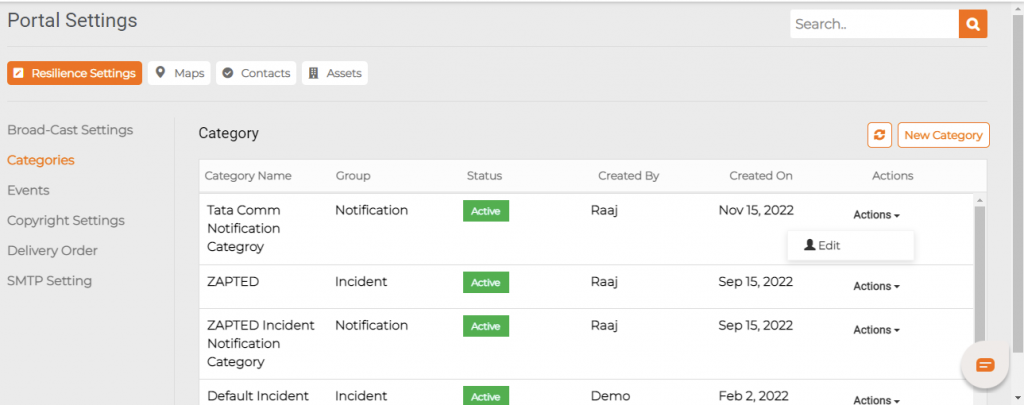
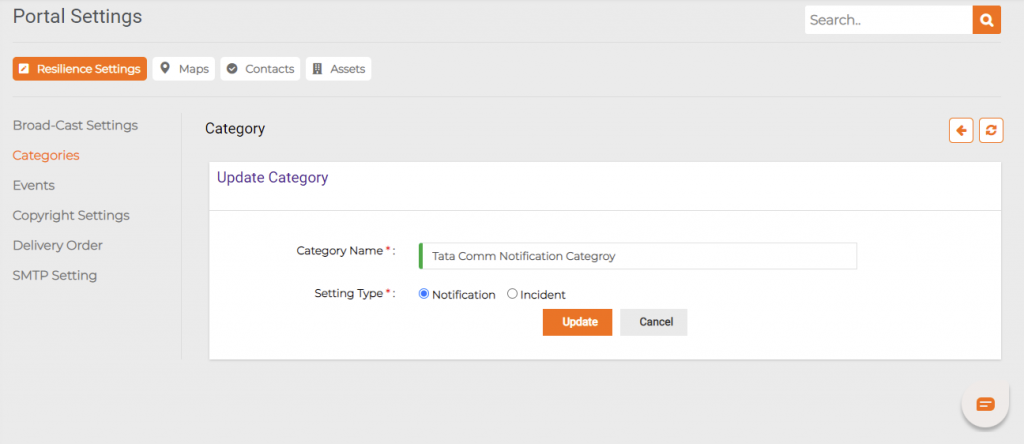
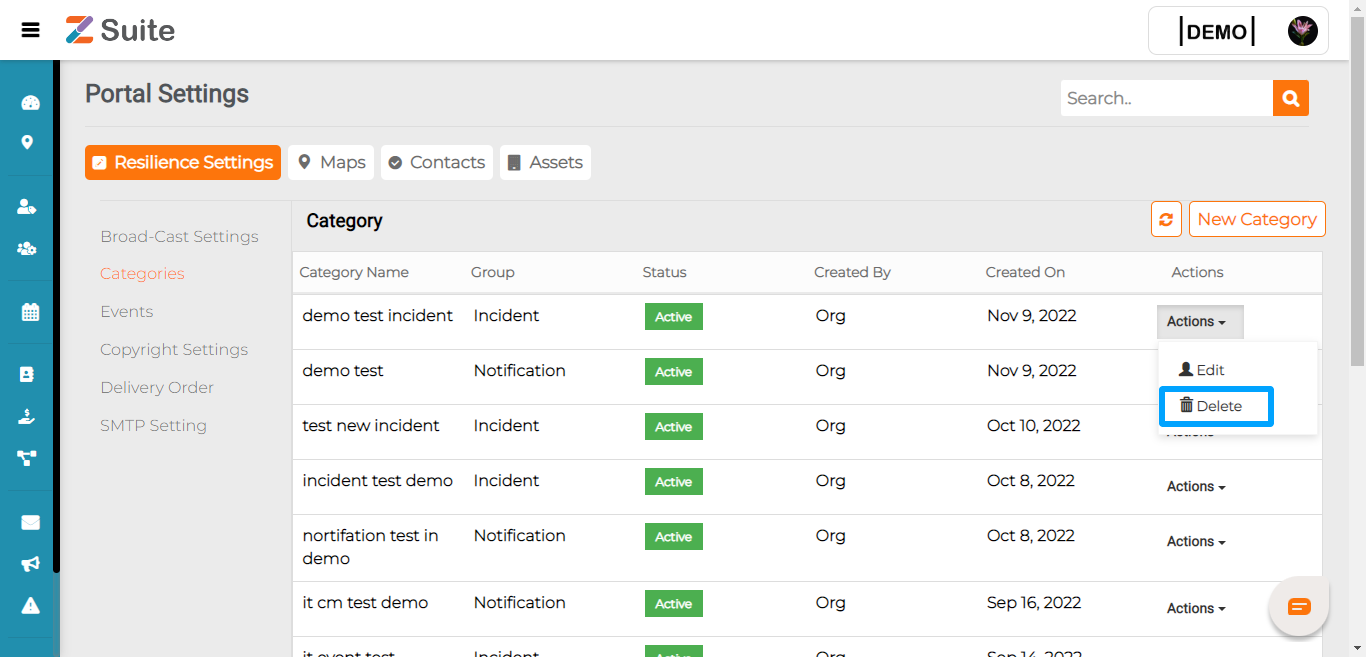
Event category: Event category is the various categories of business disruptive events such as Facility Closure, Power Outage, IT Network or Communications Outage, Transport Disruption, Loss of Talent or Skills, etc.,
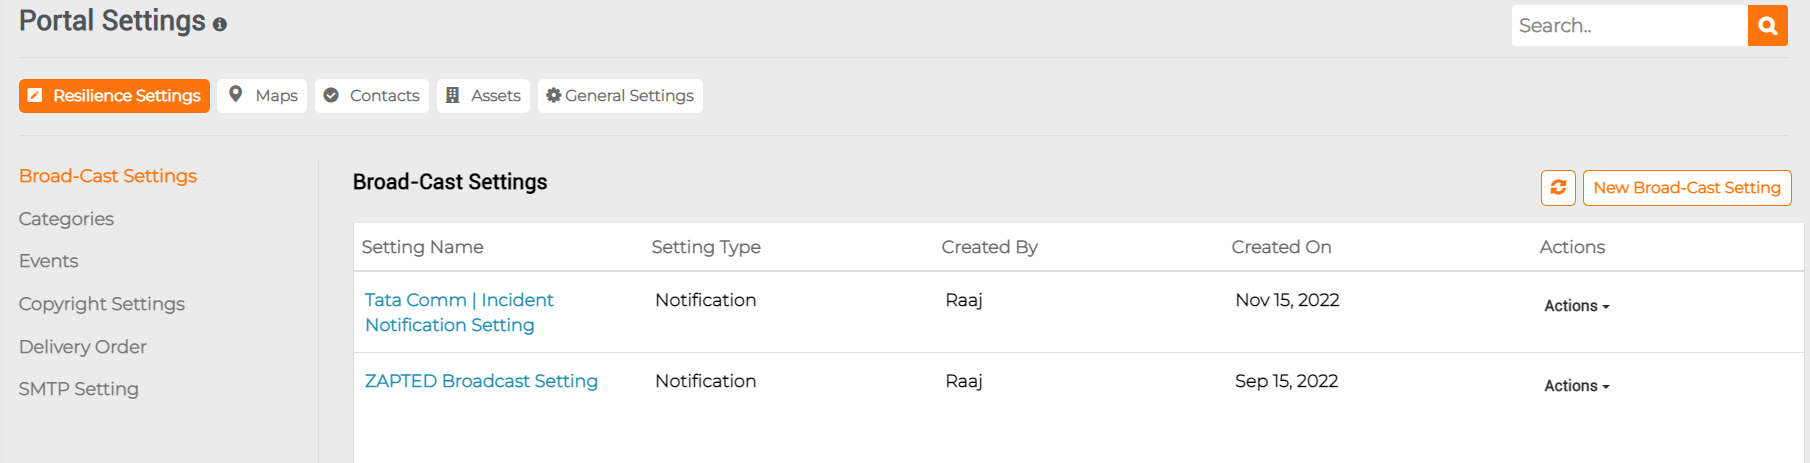
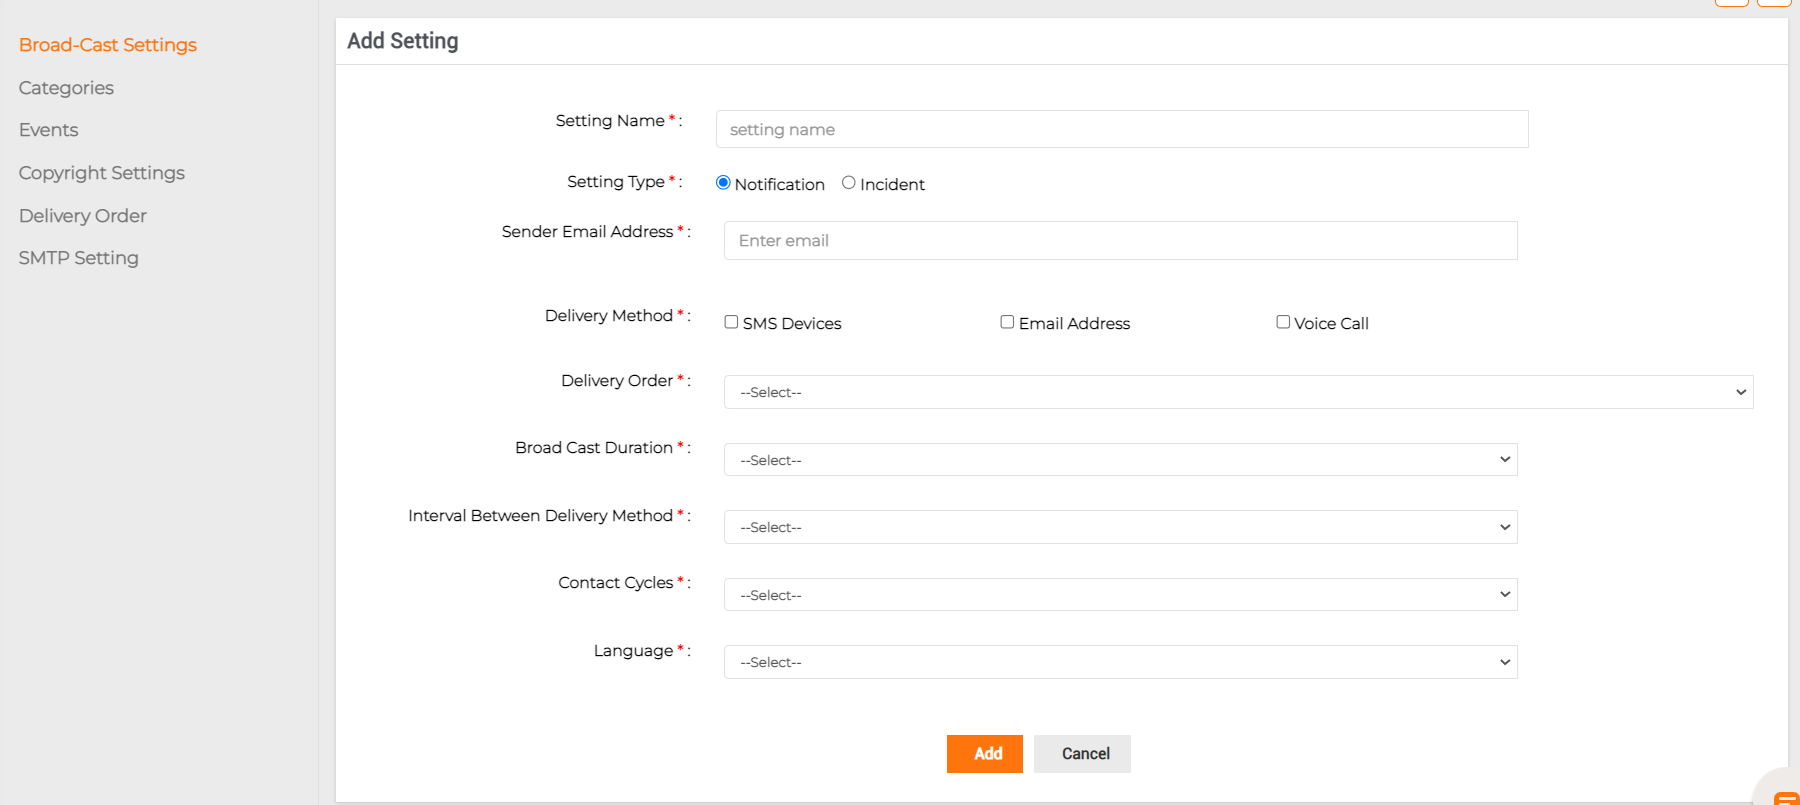
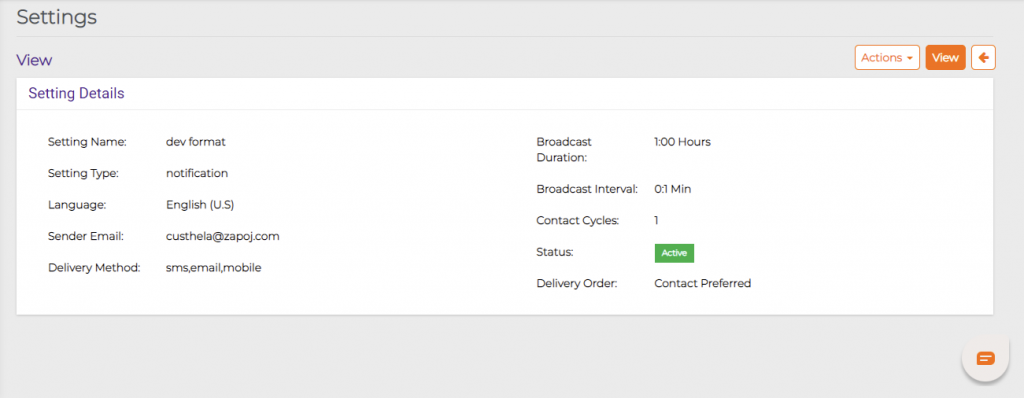
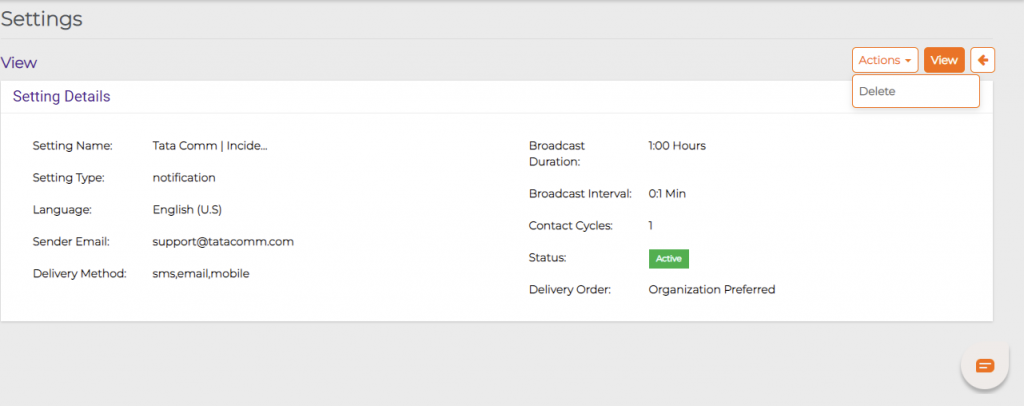
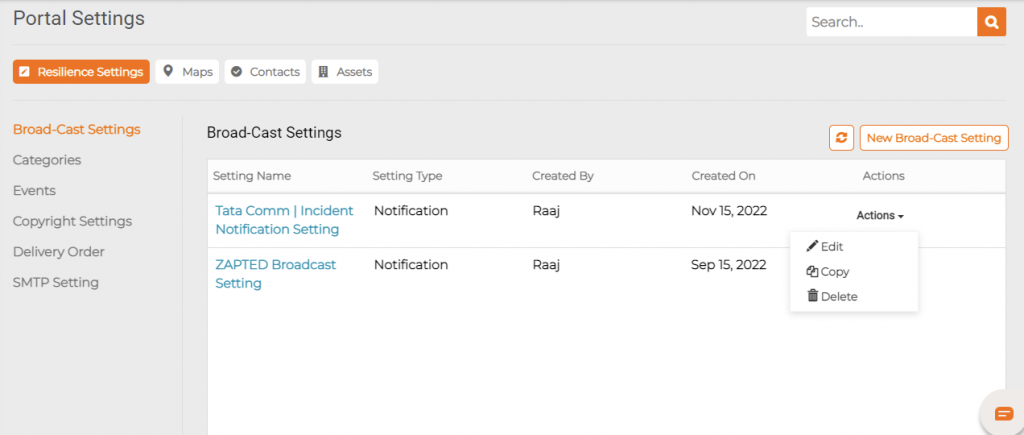
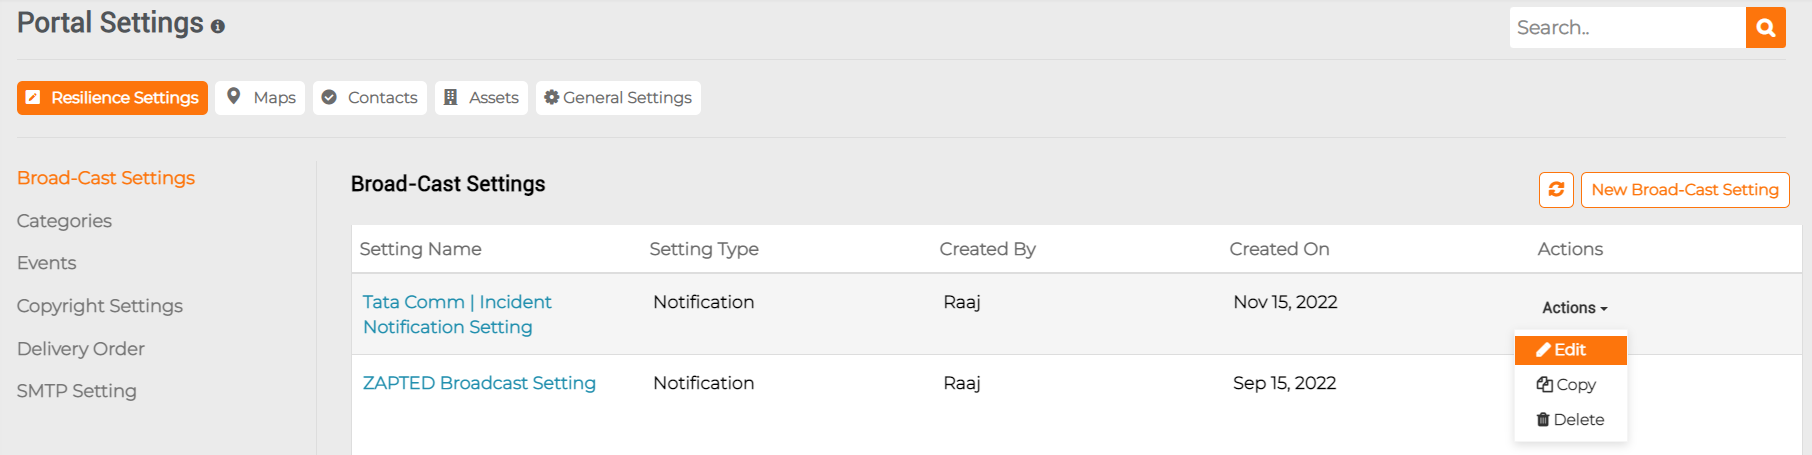
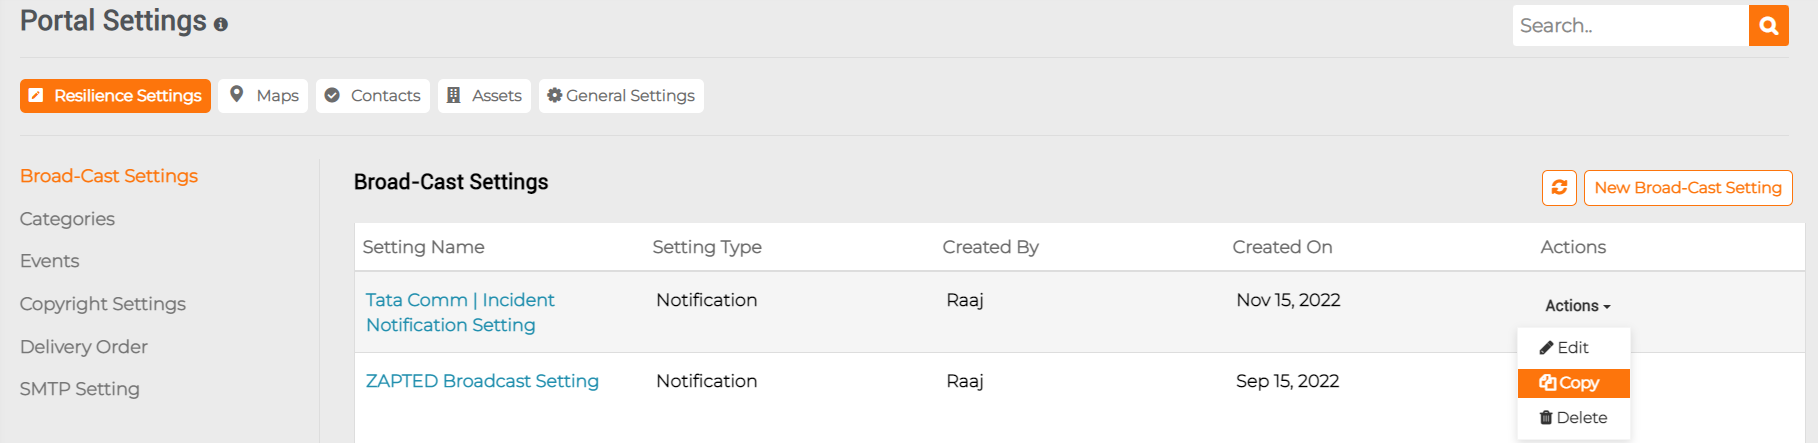
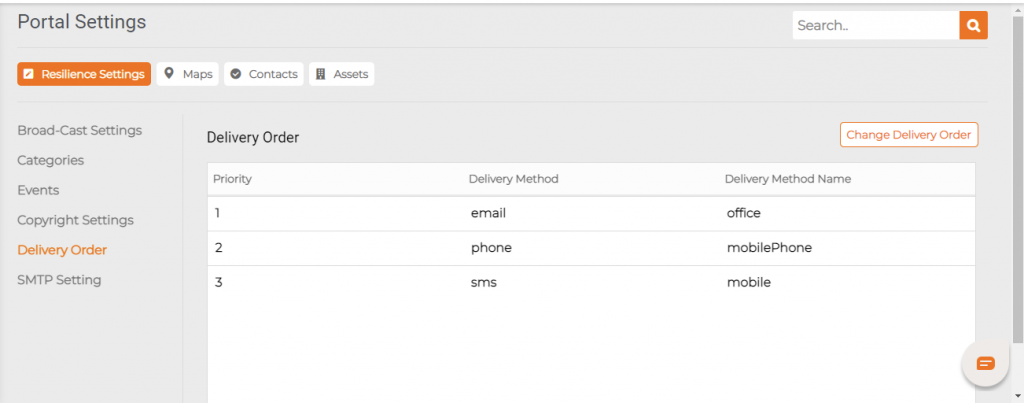
Broadcast setting: A broadcast setting is a mass communication setting of the message template, delivery mode, delivery intervals, delivery cycle, duration, etc., Example: An Airways company intimates its passengers on flight delay.
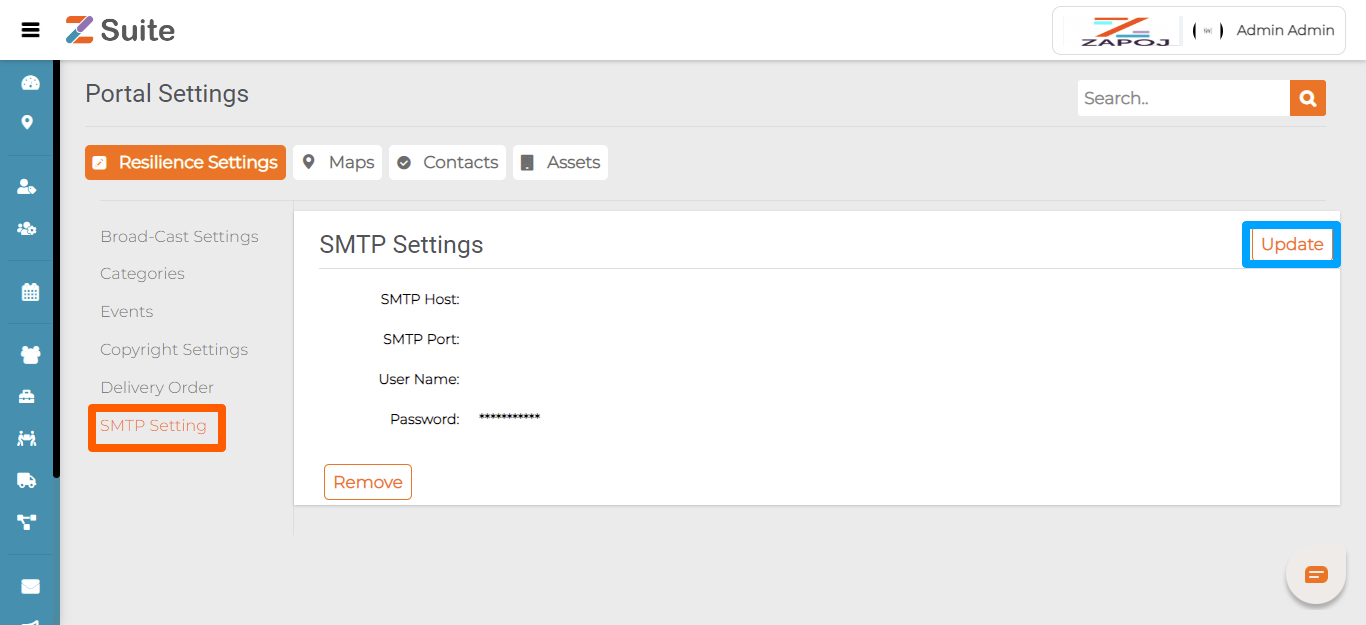
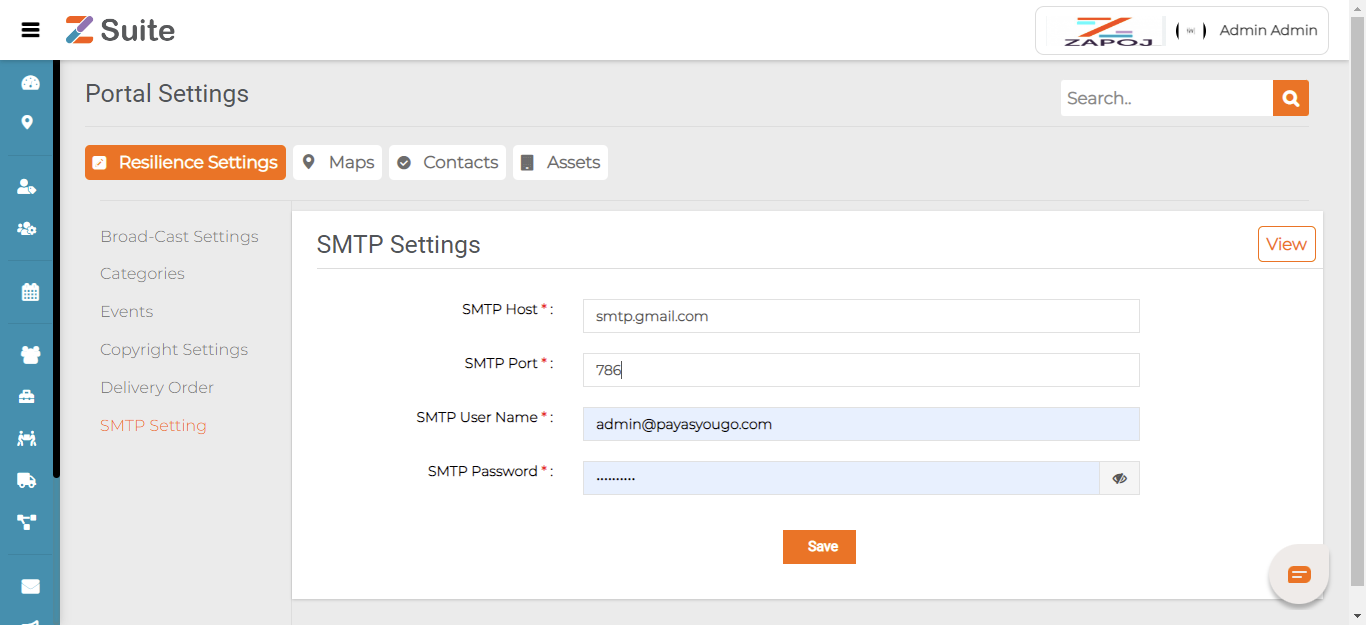
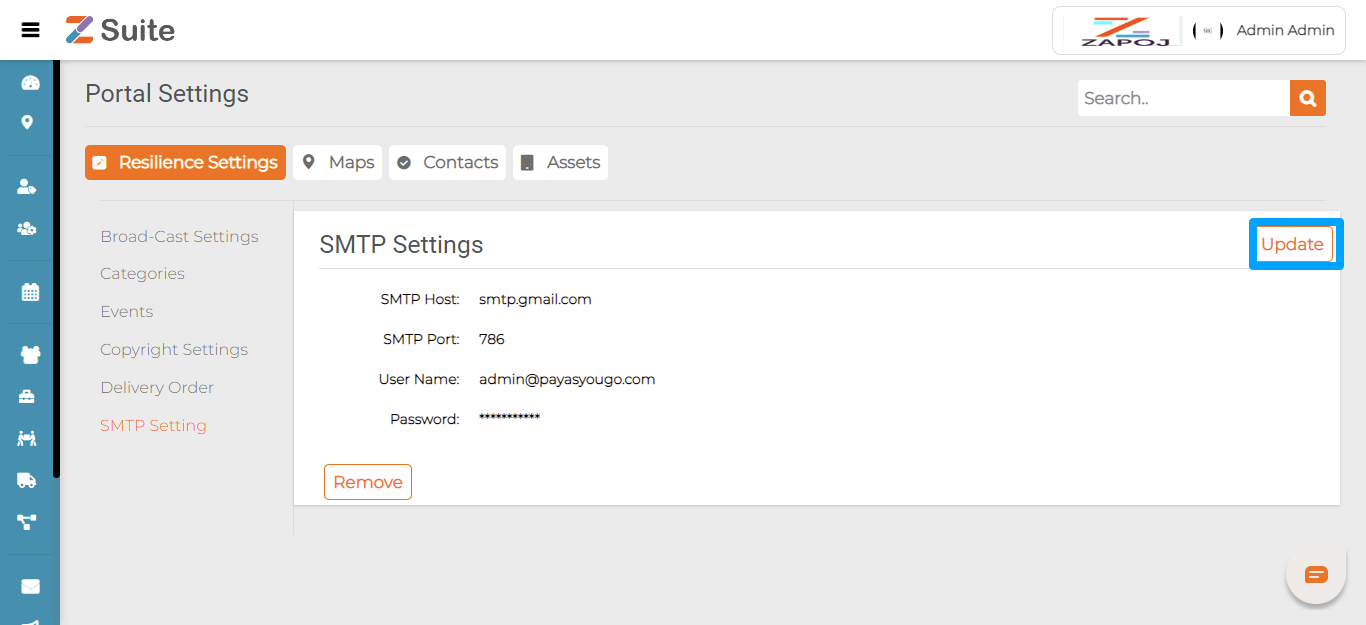
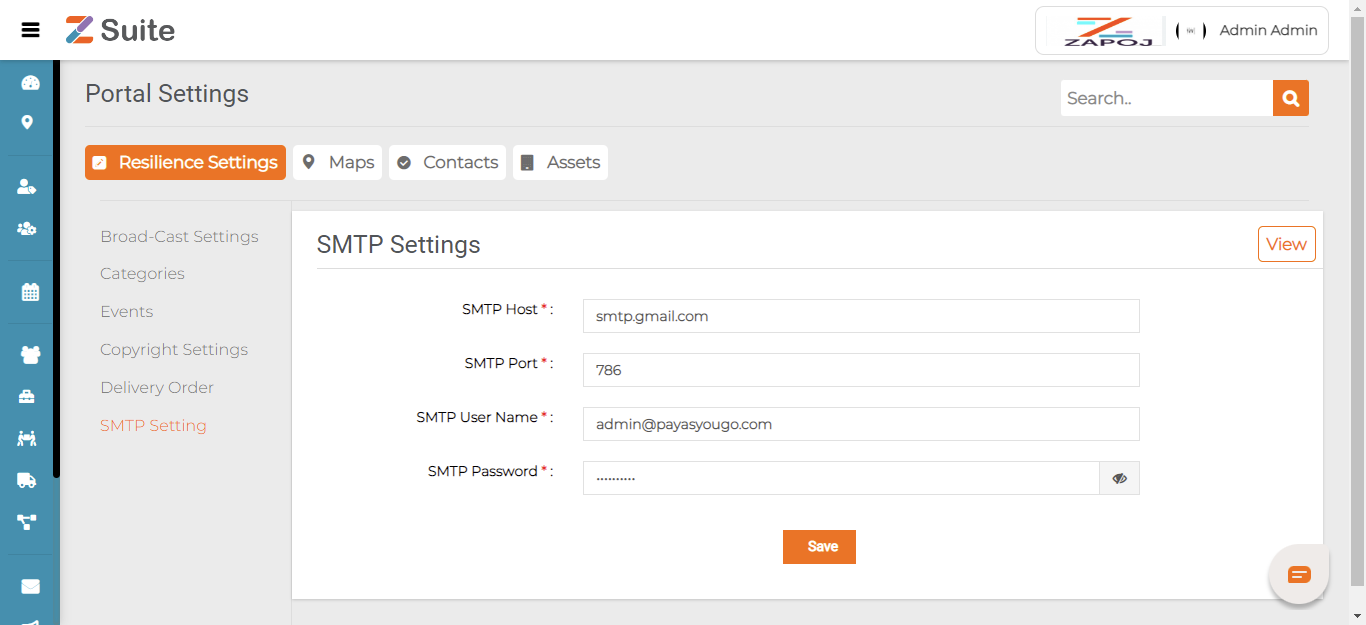
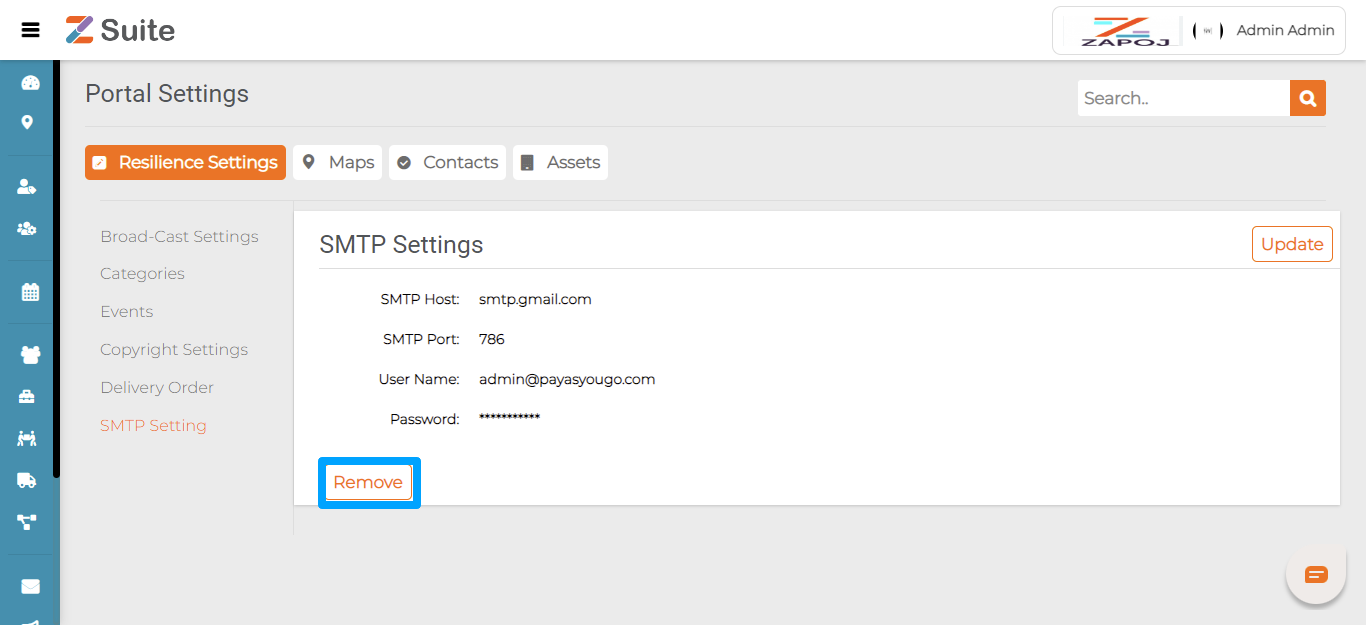
Simple Mail Transfer Protocol: The Simple Mail Transfer Protocol is an Internet standard communication protocol for electronic mail transmission. Mail servers use SMTP to send and receive mail messages. SMTP email server pertains to outgoing email, it’ll have an address (or addresses) that the mail client or application you use that generally looks like this: smtp.serveraddress.com.
Example: The SMTP server Gmail uses is smtp.gmail.com, and Twilio SendGrid’s is smtp.sendgrid.com.