Critical Assets Contacts
Organizational contacts are the Human resources associated with your organization. Example: Employees, Suppliers, Contractors, Customers, Visitors, etc., Contact information normally contains the name of a contact, identification, phone numbers, email addresses, personal or business addresses, etc.,
Step by step process on “How to add individual contacts” in Z suite, Quick and Easy with this video.
When organization faces disaster like the 2011 Japan tsunami, that may test its communications efforts to reach their employees with timely information. It may take days or weeks for organizations to locate all their employees and make sure they are safe.
A well-organized contact management and emergency notification system can help HR to reach out to employees in affected areas through various modes of communication like phones, texts, and e-mails to identify Employees who needs support.
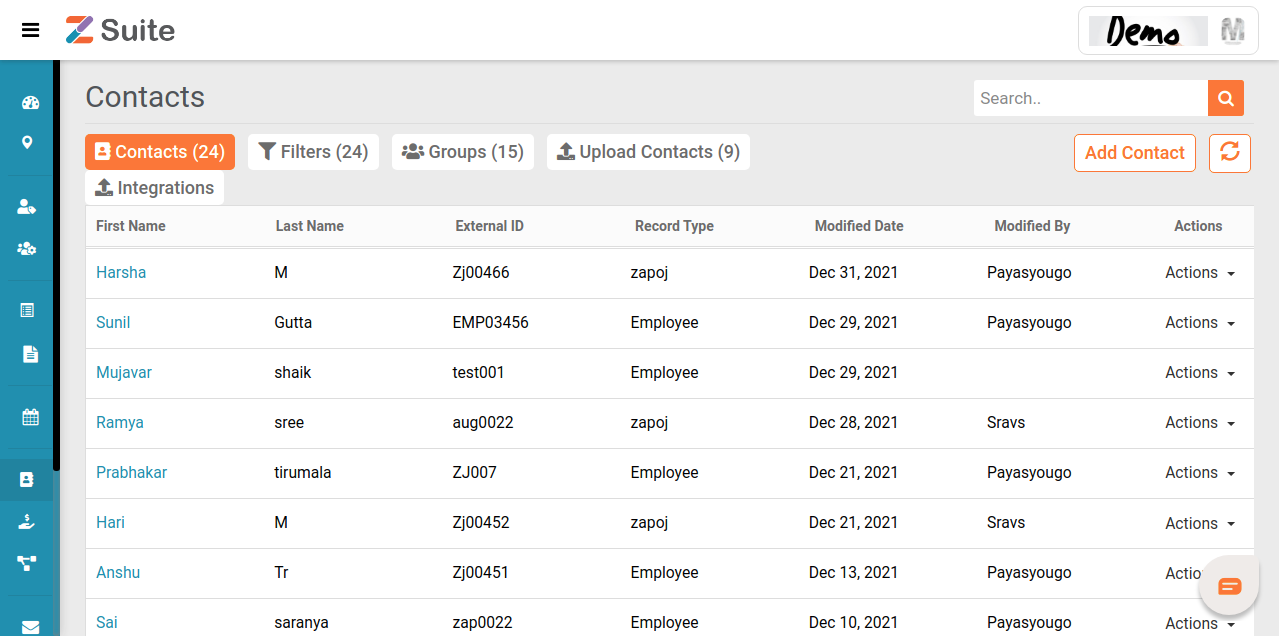
Contacts
All the created “Contacts” will be listed here.

If the user wants to create a Contact there are two ways.
- To create individual contact, click on the “Add Contact” button displayed on the top right.
- To create bulk contacts, click on the “Upload Contacts” button.
Creating an Individual Contact:
Click on the “Add Contact” button displayed on the top right.
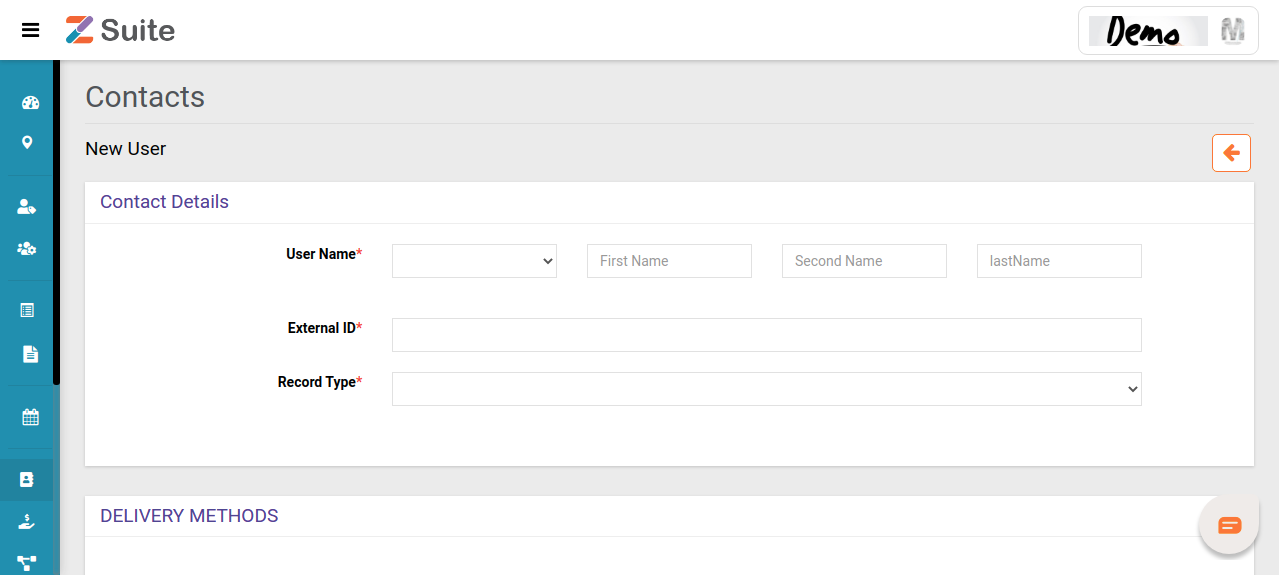
The User will be navigated to the “New Contact” page
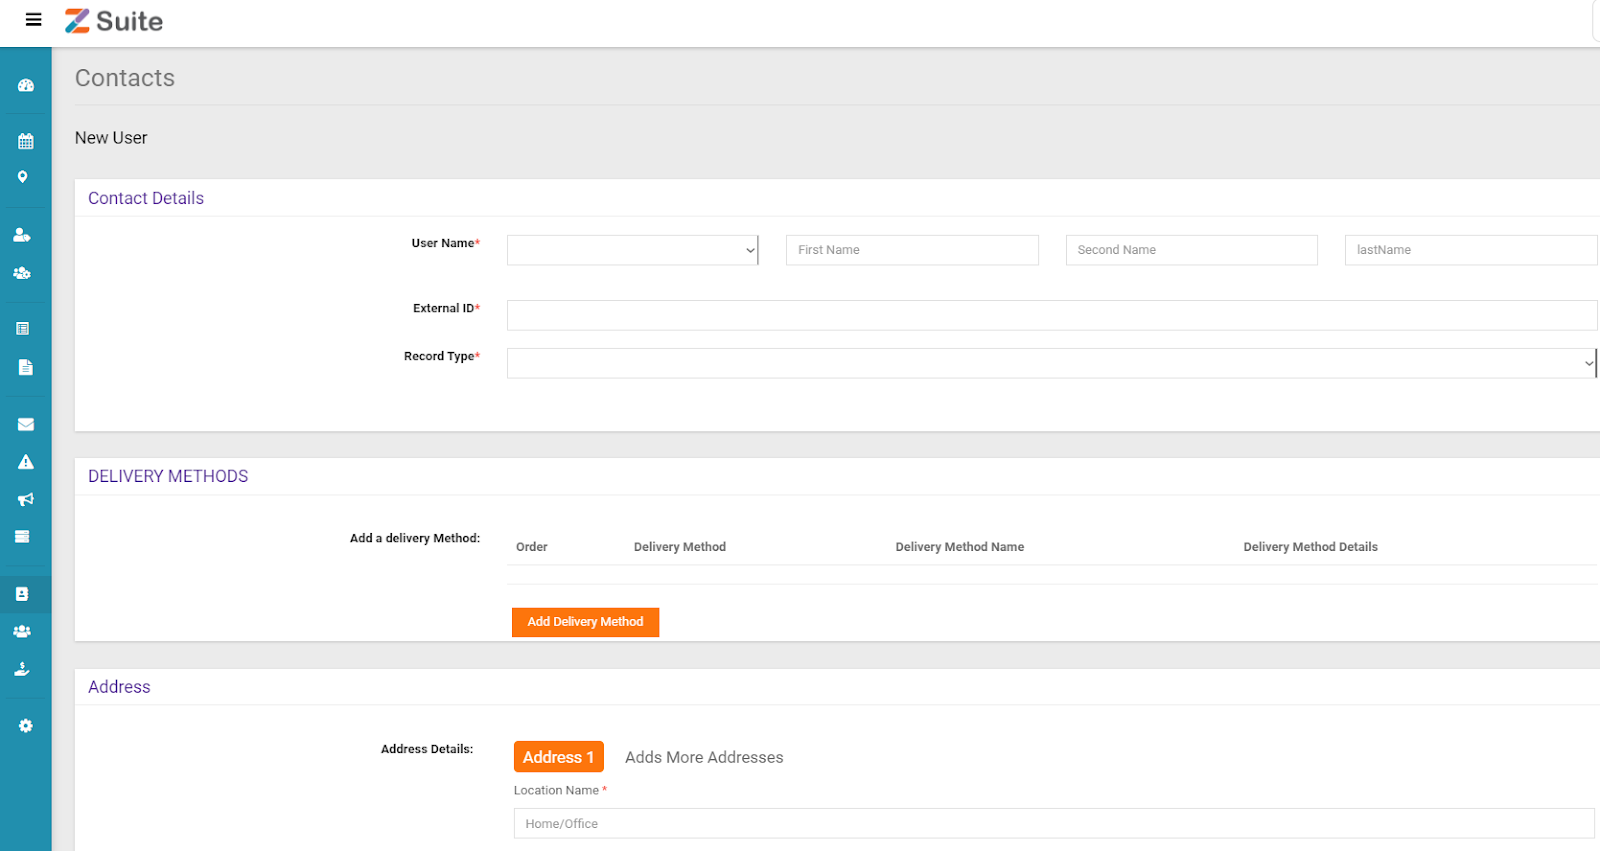
For creating a new Contact, the user needs to fill in the information like “Contact Details”, “Delivery Methods” and “Address” of the contact.
Contact Details
Fill in the details that are mandatory i.e., “User Name”, “External ID”, “Record Type”.
User Name: The user has to give the details of the User as asked below.
Note: First Name, Last Name, and Suffix like Mr/Ms are mandatory.
External ID: An External ID is a numeric or alphanumeric string that is assigned for a contact within the system. Unique identifiers can be assigned to anyone or anything that needs to be distinguished from other entities, such as individual users, buildings, machines or IT systems.
These values are usually auto-generated with an algorithm, allocated incrementally or chosen by the user.
Record Type: Record type is meant to filter and categorize on Employees, Customers, Vendors, Visitors etc.,
If the user is adding a Contact as “Customer” record type, the user needs to add the product details. Press the “Enter” key in the keyboard after providing each product detail.
If the user is adding a Contact of an Employee, the user should add the skills of that employee.

Delivery Details:
Here we can set the message delivery methods such as SMS, email, and voice call for which the user needs to be notified on threats, risk events, incidents, emergency, etc.,
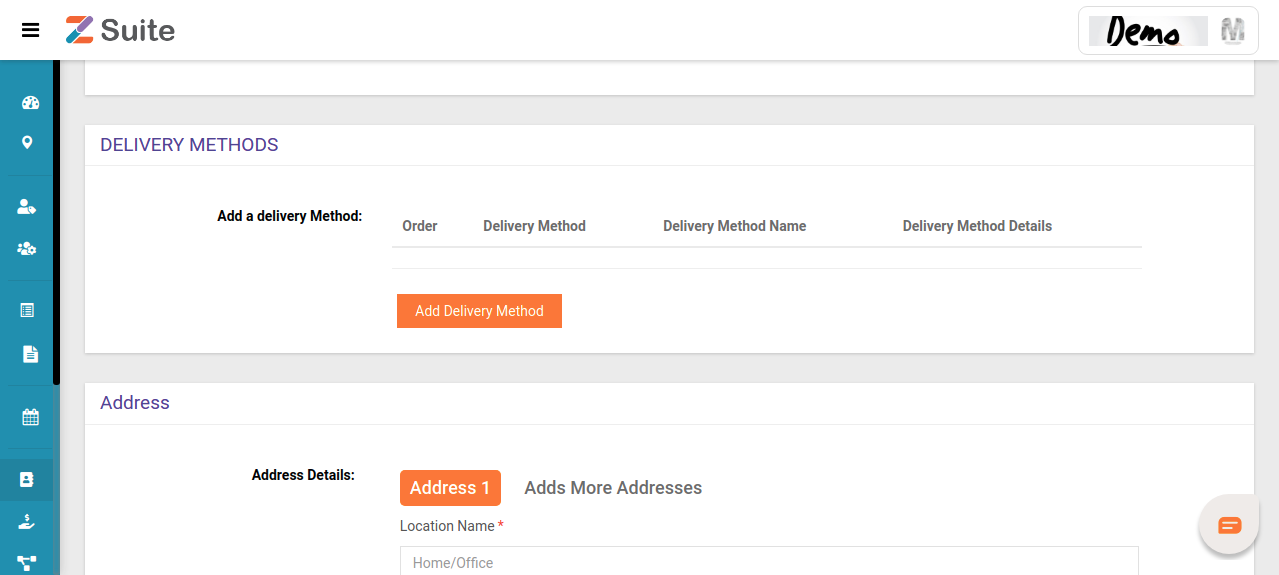
Note: “Email” and “SMS” details should be provided in order to create a contact.
Click on “Add Delivery Method”. The User can add as many delivery methods they need.
Email: For the “Email” Delivery method there are two options, The User can add “personal” or “office” Email Id. And add the mail address in the Delivery Method Details.

SMS: For “SMS” add mobile and give the number there. Give the country code and mobile number.

Phone: For the “Phone” Delivery Method there are three options, like mobile, office, home. Add the preferred number there.

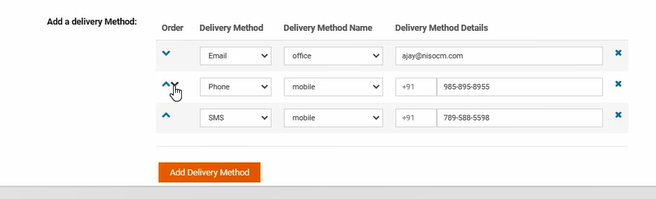
We can adjust the priority of the Delivery Method.
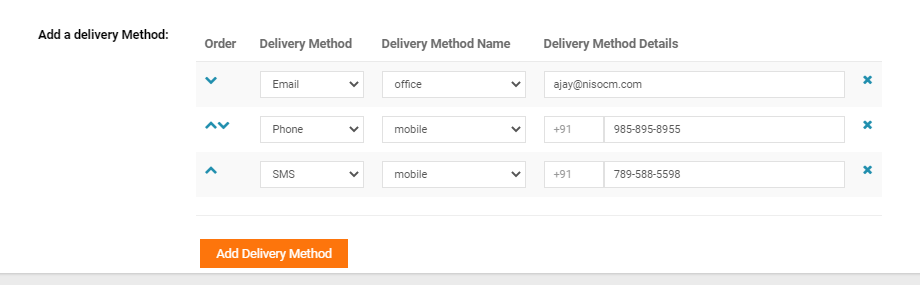
By clicking on the Up and Down arrow, we can change the sequence of delivery method.
Delivery Method List:
Email – Office: Upon selecting this option, an Email notification will be sent on the Official Email ID.
Email – Personal: Upon selecting this option, an Email notification will be sent on Personal Email ID
Phone: Upon selecting this option, notification will be shared via phone call.
SMS: Upon selecting this option, notification will be shared via Message.
Address Details:
For adding a new contact User has to give the address of the contact to be created. One address is mandatory. Every detail here is mandatory here except the “Apartment/suite”.
After filling in all the details, the map is located.
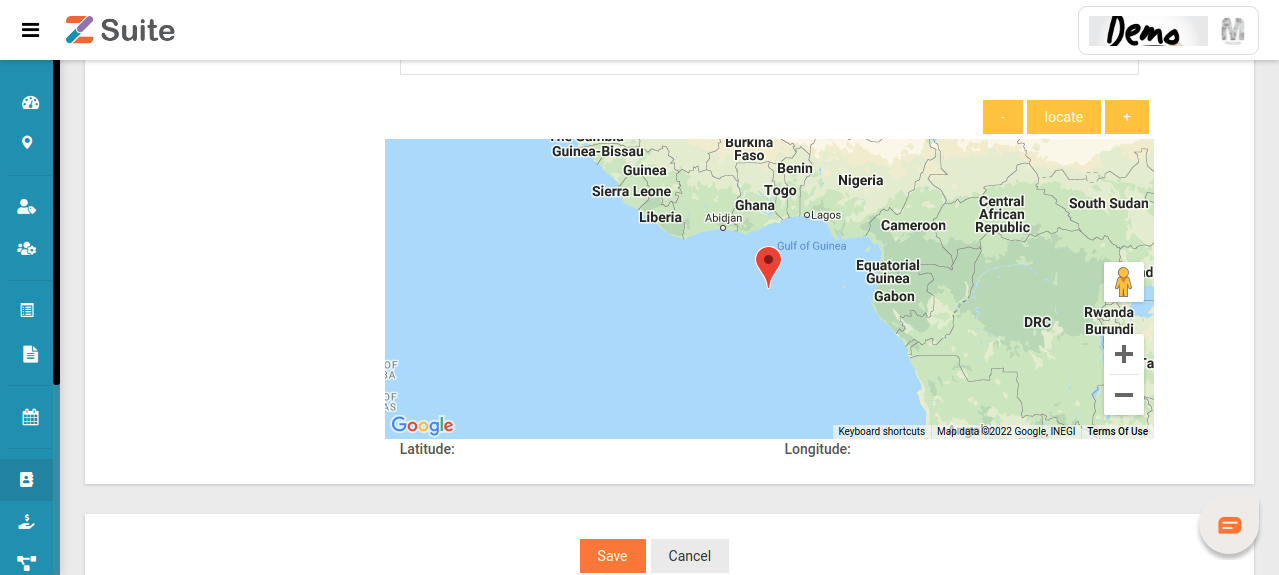
Click on the “Save” button after filling in the details.
Multiple Address:
In case a user/member wants to add more than one address then he can surely add multiple addresses by clicking on the option Add More Addresses.
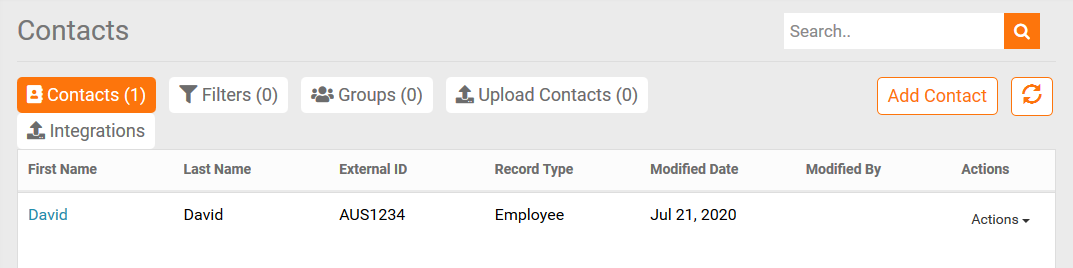
Now the User can see this Contact on the Contacts tab of the “Contacts” page.
Creating Bulk Contacts:
Step by step process on “How to create bulk contacts” in Zsuite, Quick and Easy with this video.
After clicking “Upload Contacts” the User has to click on the “Add Uploads” button.

The User will be redirected to the “New Upload” page.

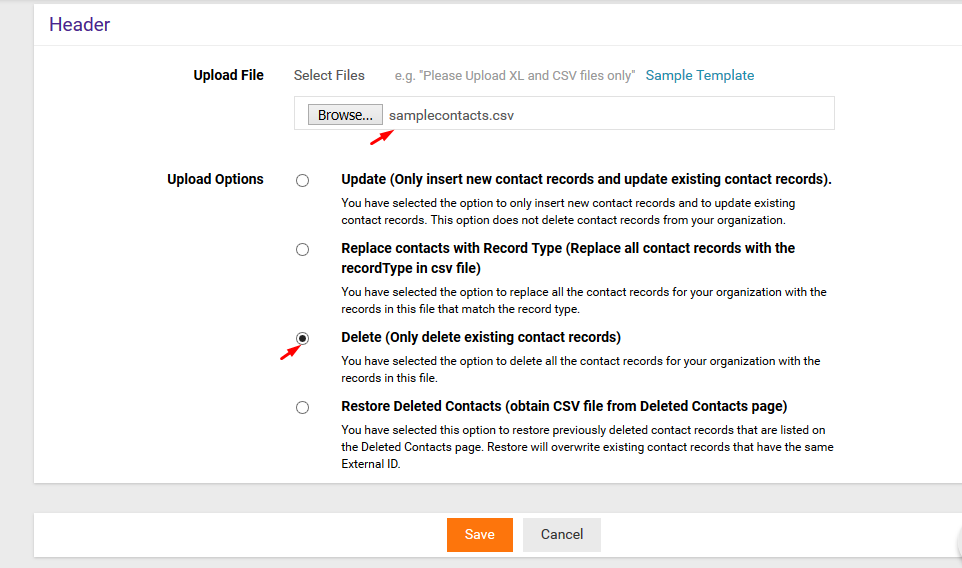
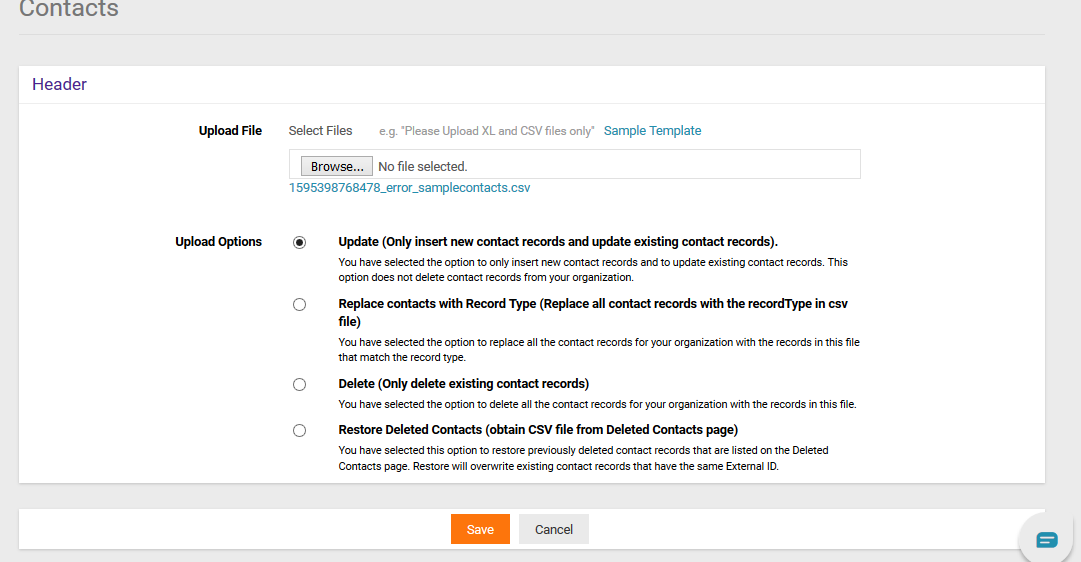
Firstly, the User has to download the “Sample Template” given. After that fill the Contacts details accordingly and Add the file using the “Browse” button available there.

Below this, there are some “Upload Options”, select preferred one and “Save”.
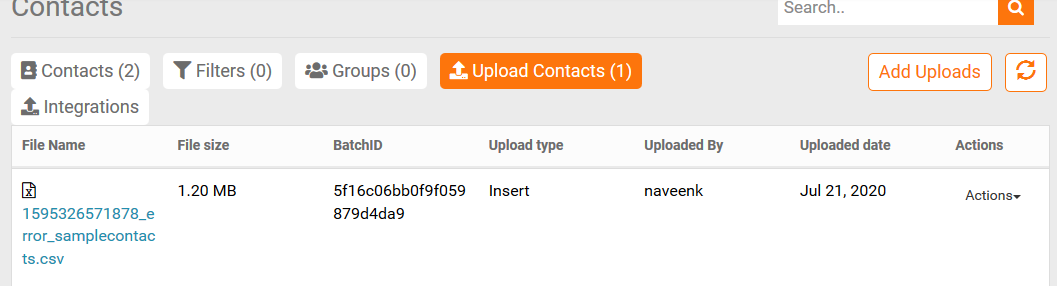
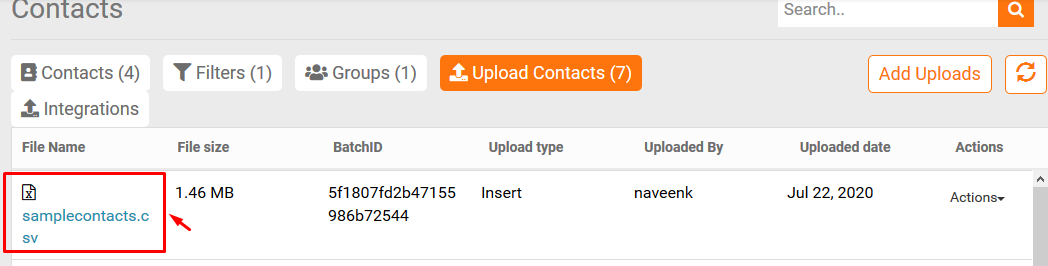
Under the Upload Contacts tab, we can see all the history of contacts which are uploaded till date.
By clicking on the uploaded file name, we can see the complete details and contacts uploaded with that sheet.
Editing Individual Contacts:
Step by step process on “How to edit and delete single contacts present” in Zsuite, Quick and Easy with this video.
There are two options for editing the contacts.
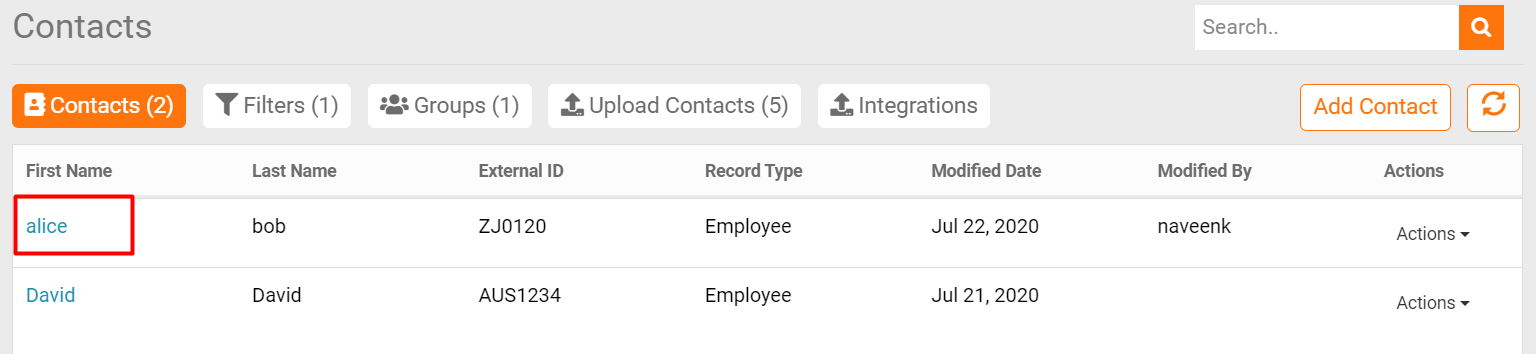
- If the user wants to edit the contact details click on the “First Name” in Contacts tab.

The user will be redirected to the “Contact details” page. Click on the “Edit” button.

The user can edit the details and click on the “Save” button.

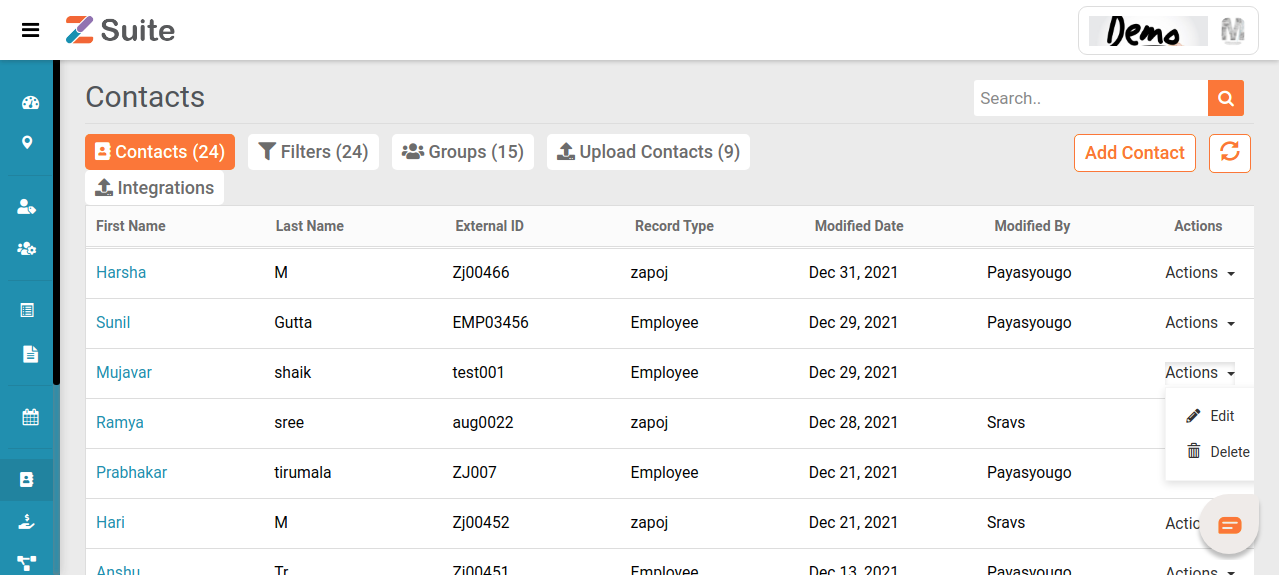
- By clicking on the “Actions” dropdown button, the user has two options: “Edit” and “Delete”. Click on “Edit” for Editing.
The user will be redirected to the Contact details page. Edit the preferred details and “Save”.
Deleting Individual Contacts:
There are two ways for deleting an Individual Contact:
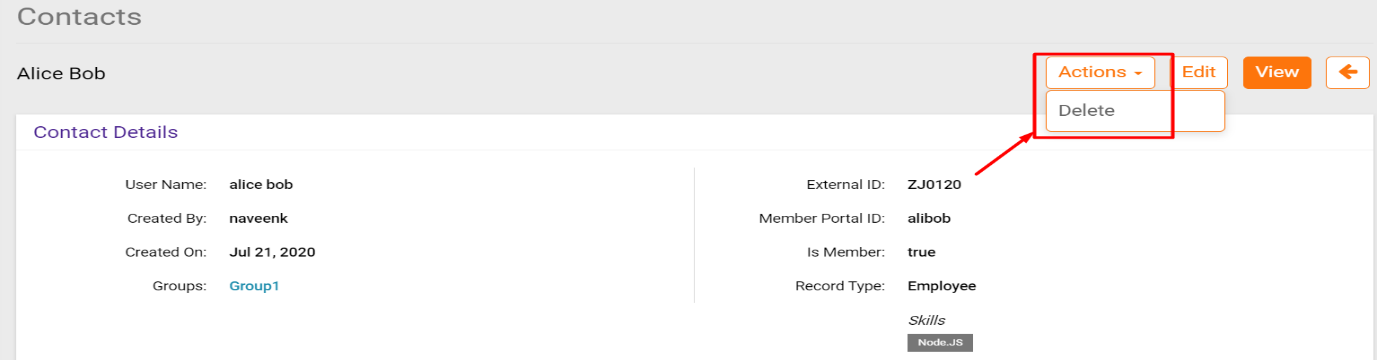
- If the user wants to delete the contact details click on the “First Name” in Contacts tab.
It will be redirected to the contact details page, click on the “Actions” button and Delete the contact details.
- If the user wants to delete the contact details click on the “Actions” in Contacts tab.
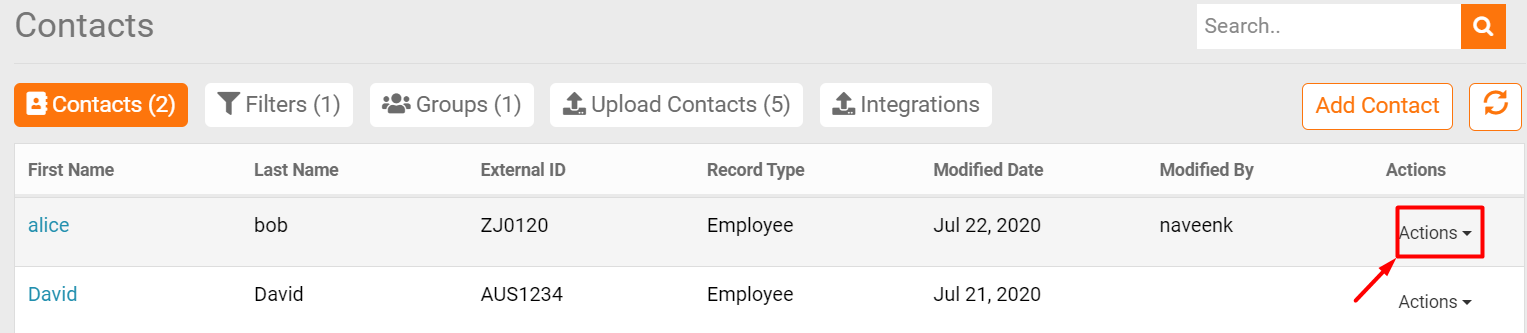
A dropdown with Edit and “Delete” options are seen. Select “Delete”.

Editing bulk Contacts:
This is useful for Editing more “Contacts” at a time. There are two ways for editing bulk Contacts.
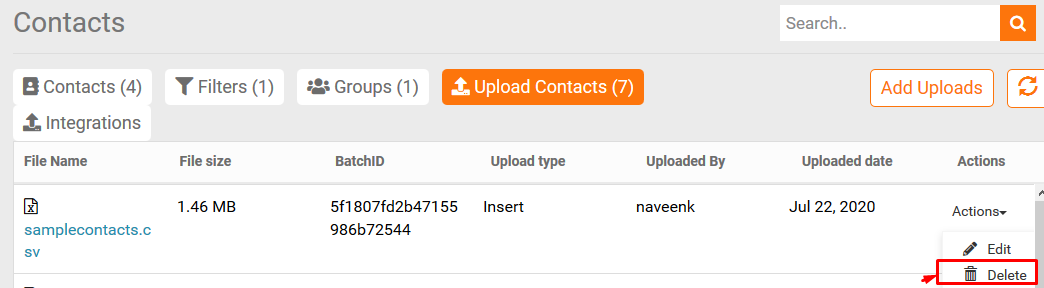
- Click on the “Upload Contacts” tab, then click on “Actions” dropdown button and click on “Edit”.

The user will be redirected to a page where the user can see all the details, do the preferred action and click on “Save”.
- The other way is to click on the “Upload Contacts” tab, click on “File Name”, the user will be redirected to the contact details page, then click on the “Edit” button.

Edit the preferred one and click “Save”.
Deleting bulk Contacts:
Step by step process on “How to delete contacts in bulk” in Zsuite, Quick and Easy with this video.
- Click on the “Upload Contacts” tab, then click on “Actions” dropdown button and click on “Delete”.
- Click on “Add Uploads”, upload the data to be deleted and select the “Delete” option. Click on the “Save” button to save the changes.