Bit Bucket
Url:- www.bitbucket.com
Bitbucket Login details :-
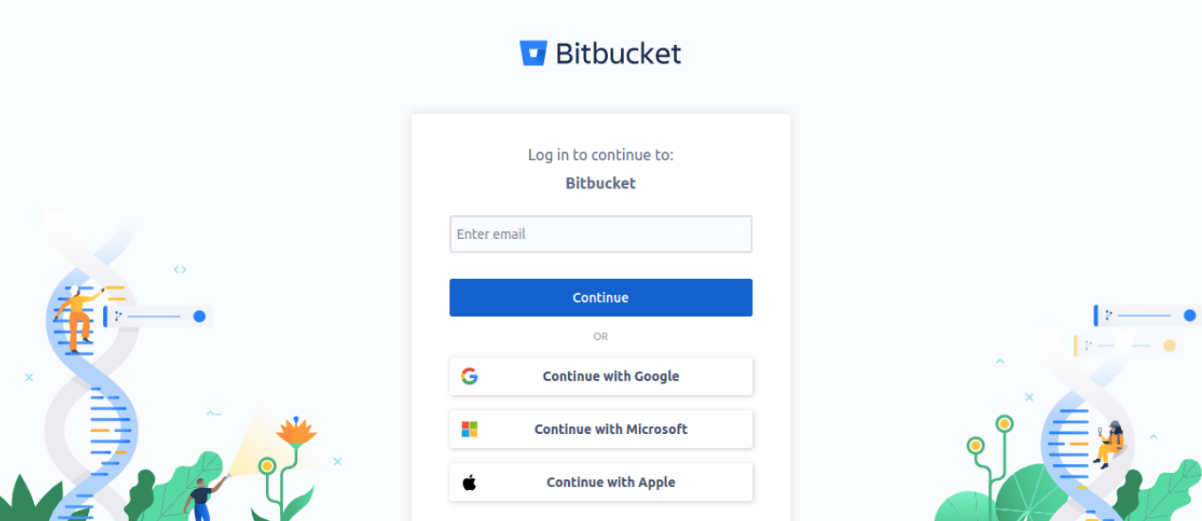
Then login To the bitbucket site ,using valid credentials
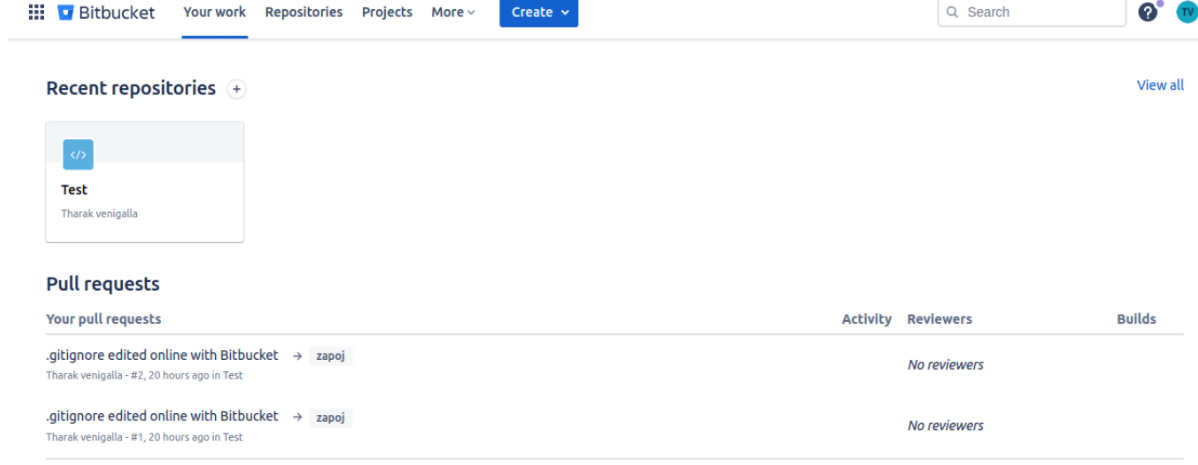
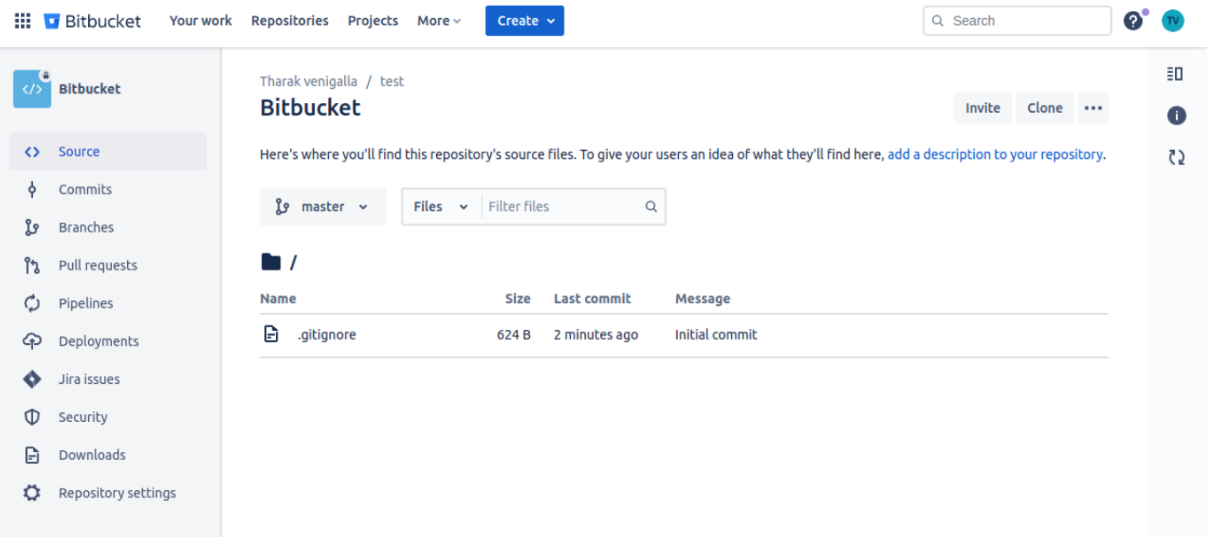
Go to repositories in bitbucket login page
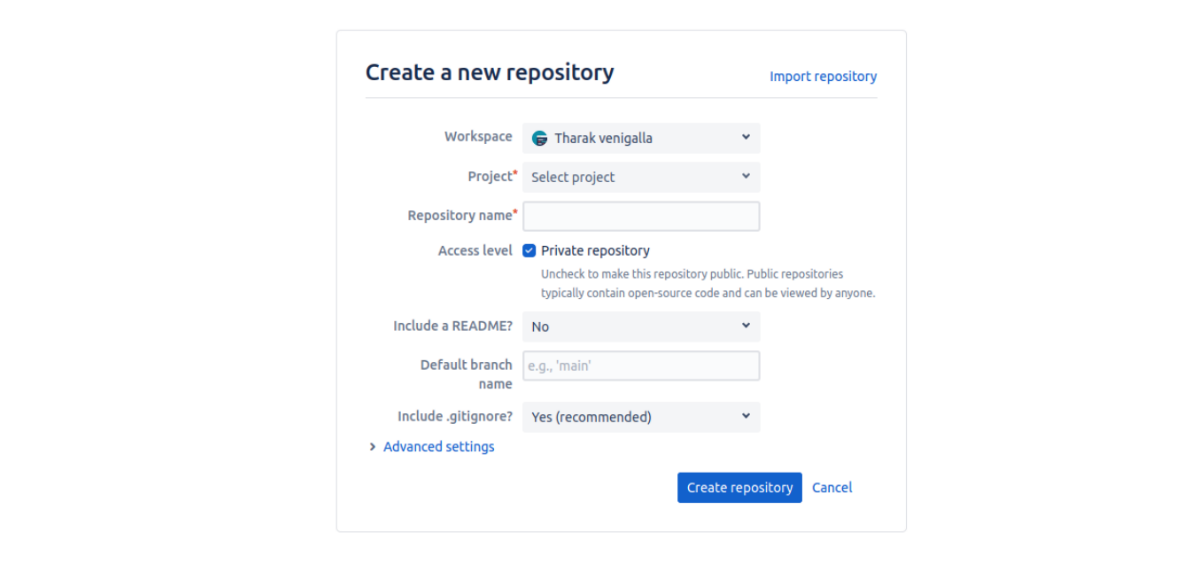
Go to create new repository
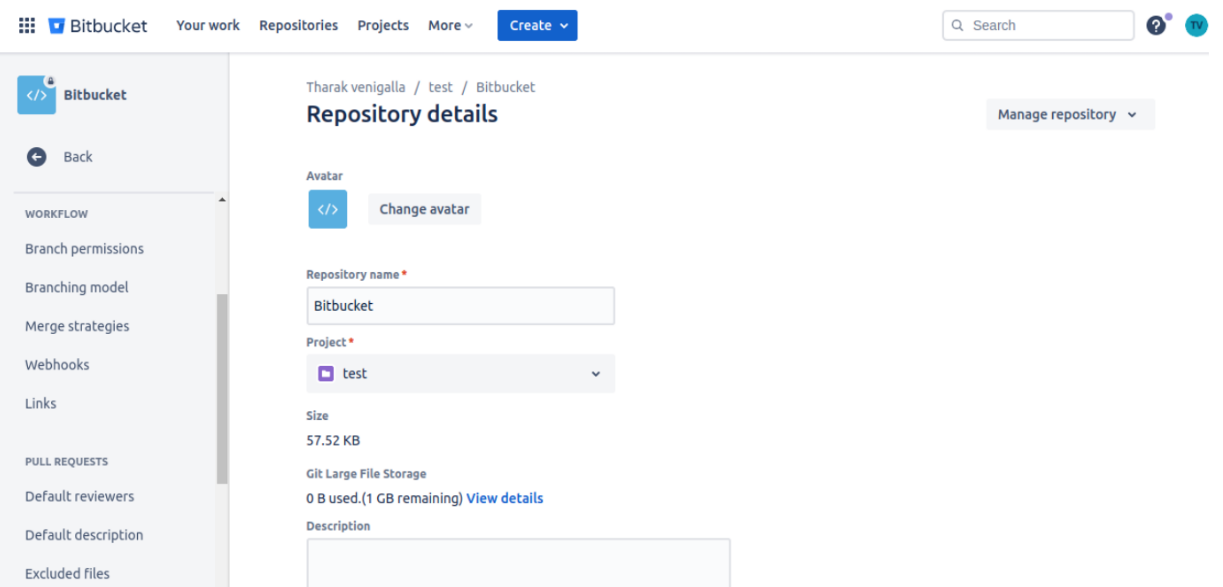
After creating repository go to repository settings
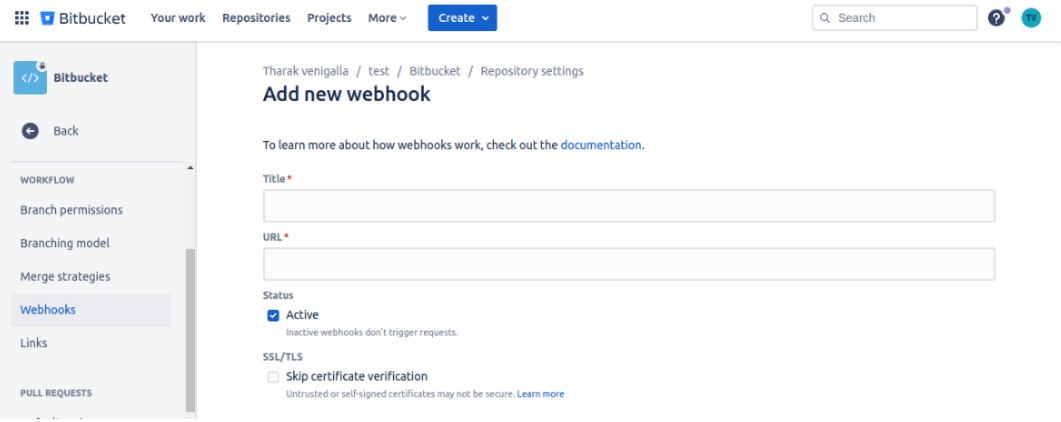
In repository settings >>work flow >> webhooks
Webhooks, navigate to Webhooks page
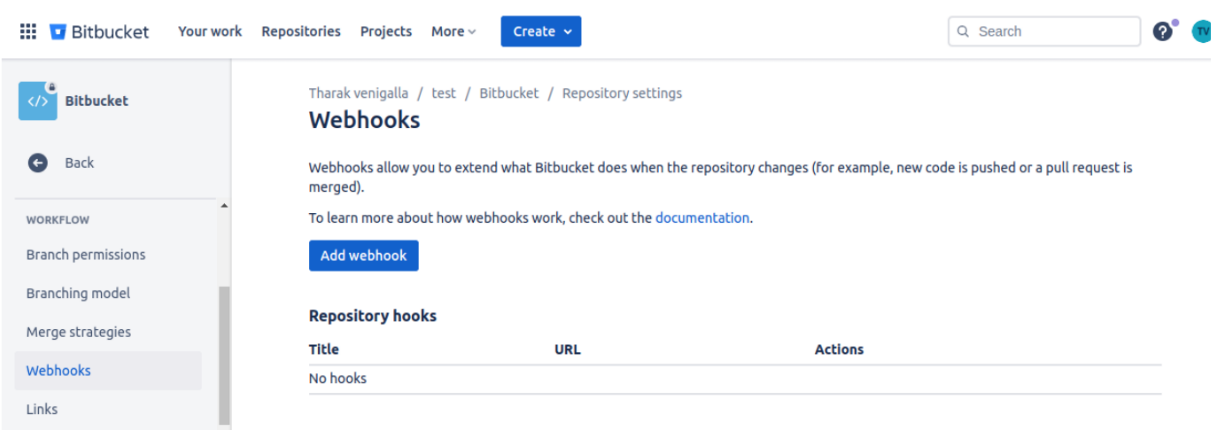
Add a new webhooks
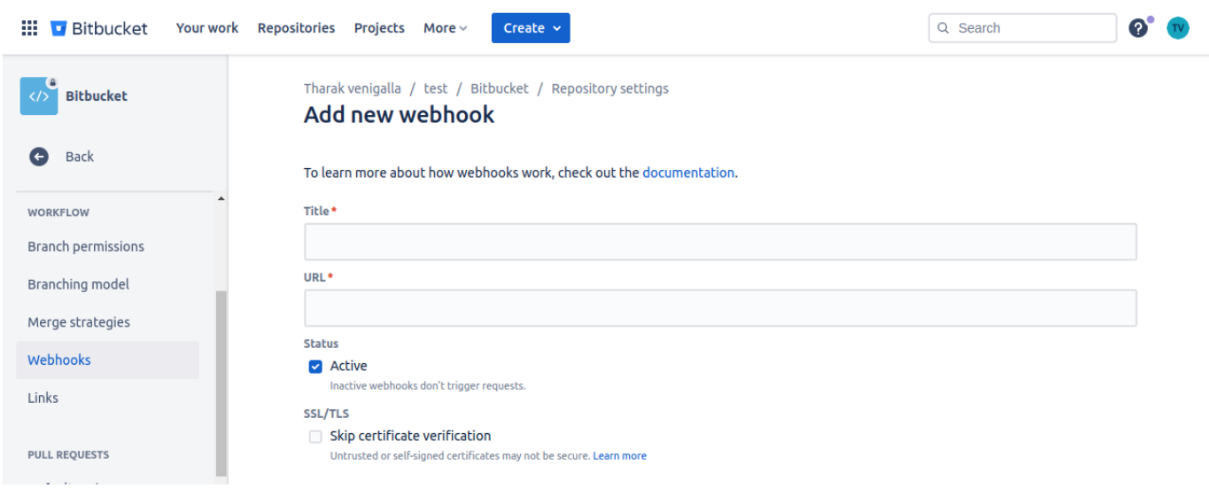
Before adding webhook URL
24 In Zsuite app:-
Step 1:– For creating a new service
It Cm -> IT Services->
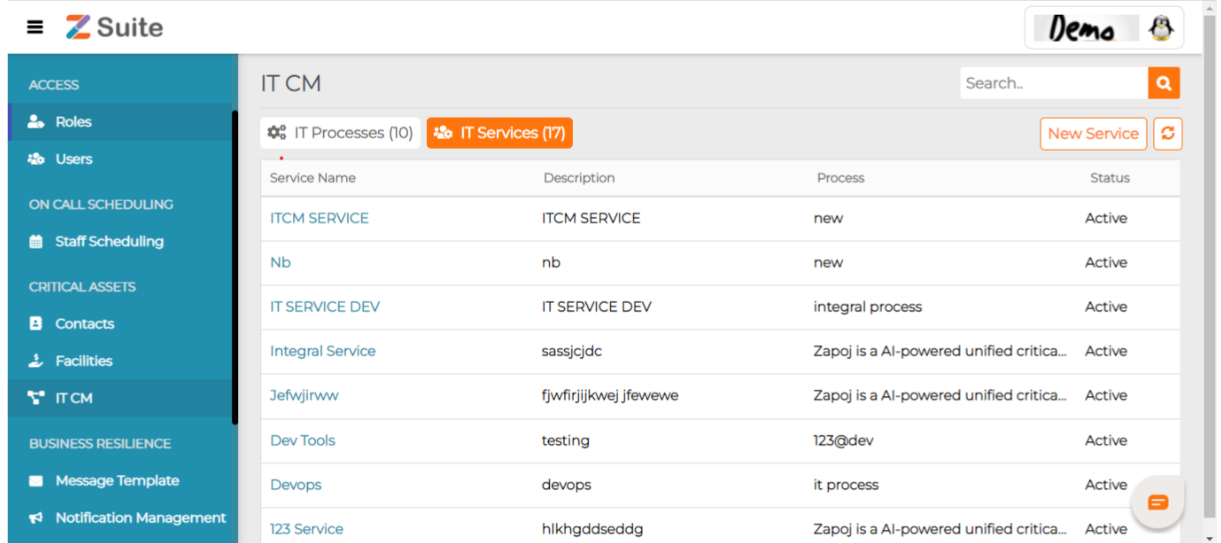
Click on New Service
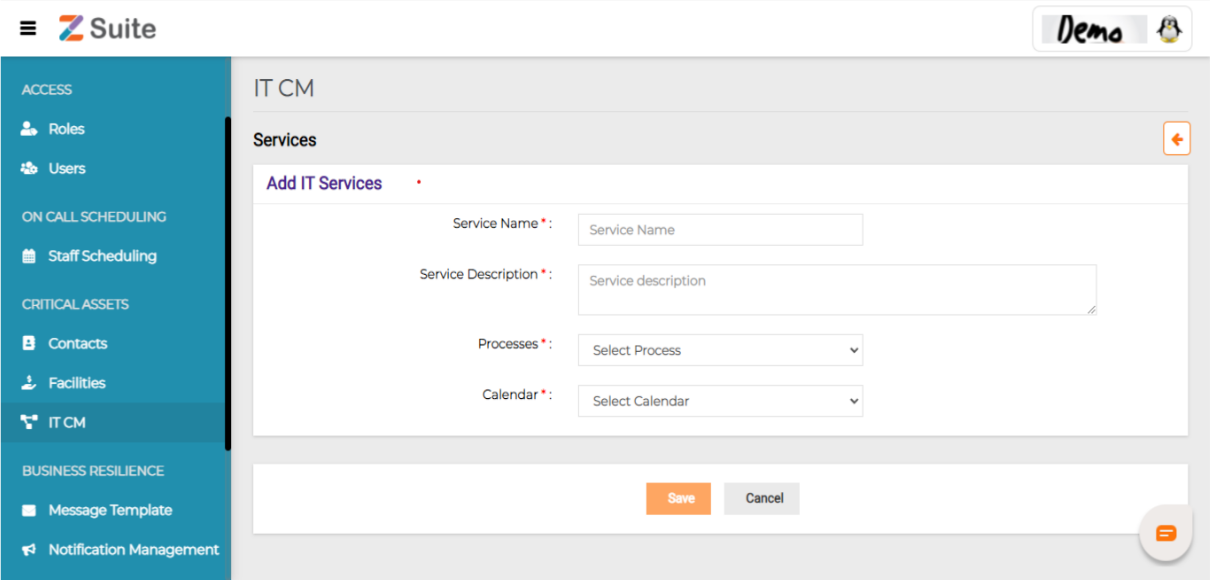
A. Select calendar
For Adding New Calendar:- staff scheduling ->add icon-> fill calender name and select groups
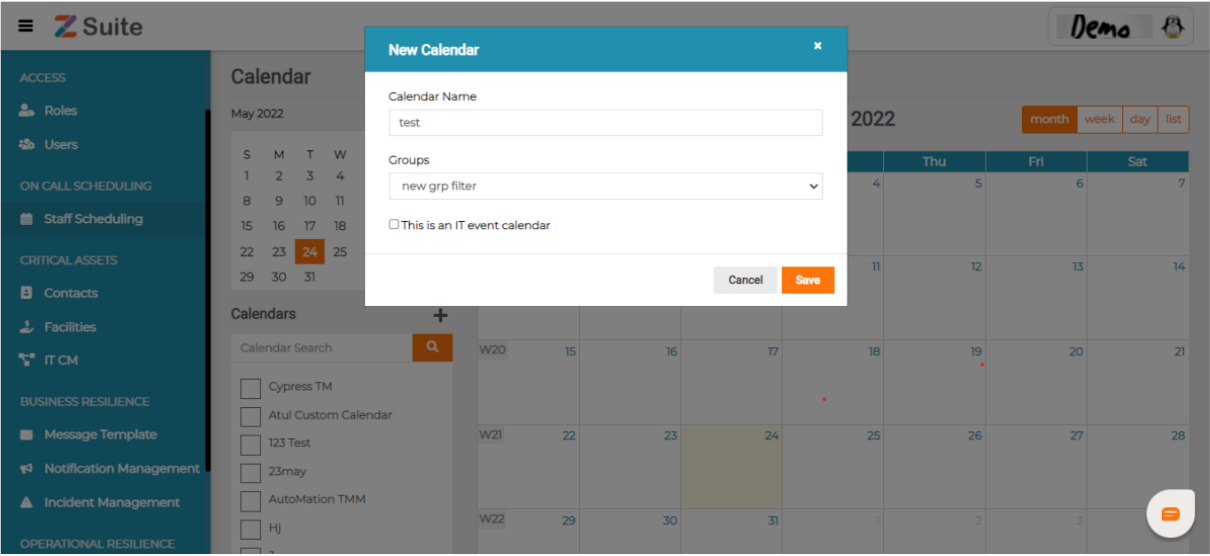
For making new group:- Contacts -> groups ->
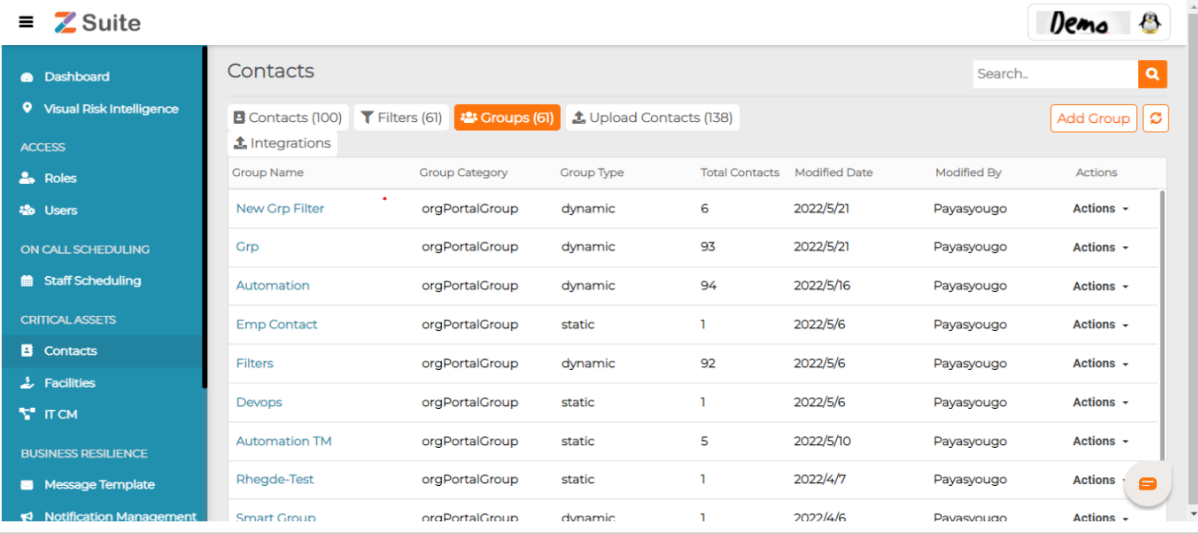
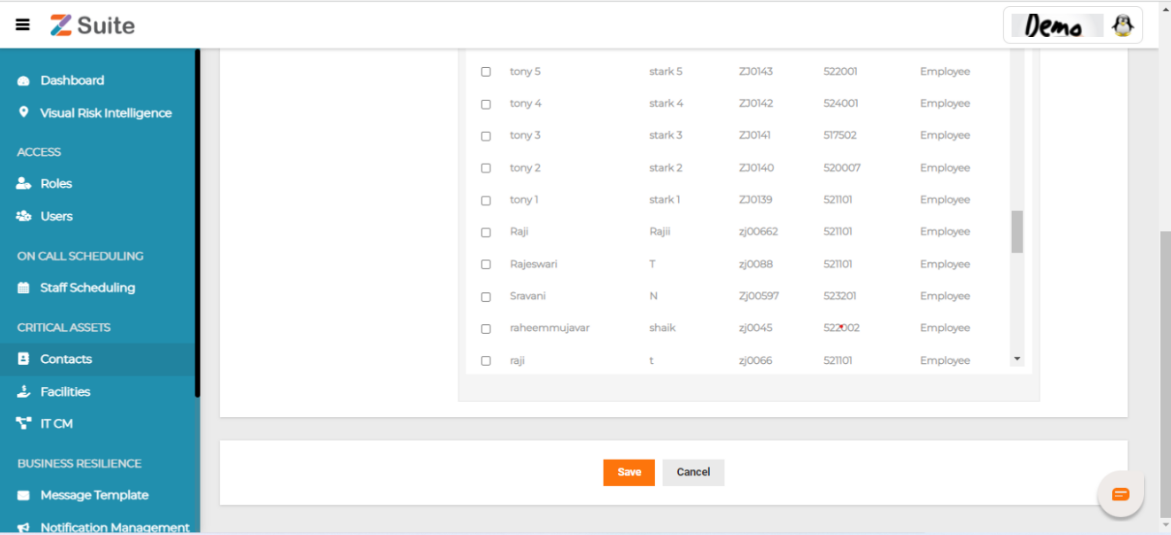
Add group -> Fill all details and select contact for making groups
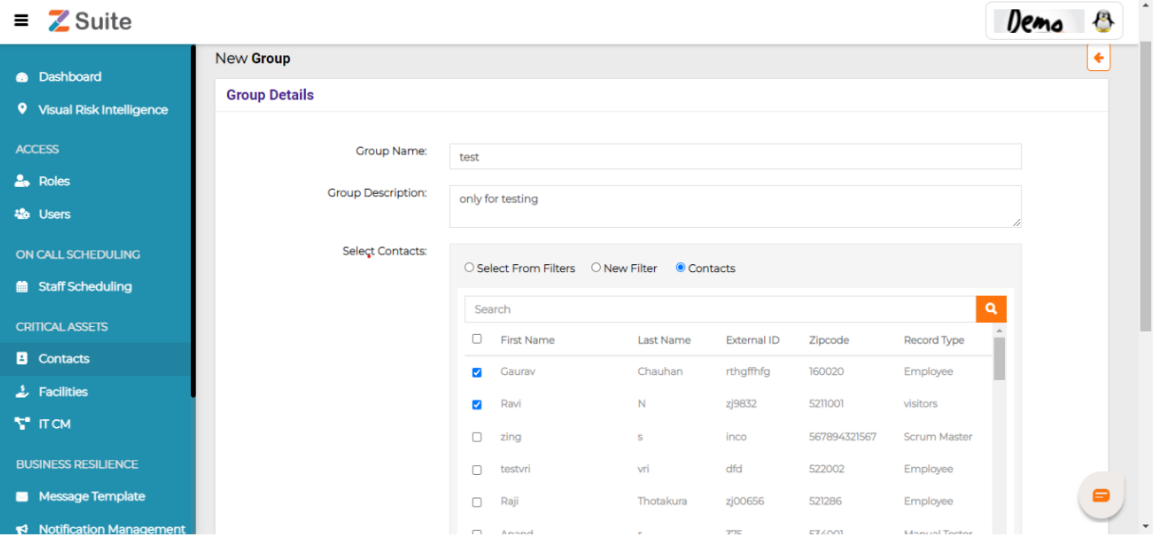
Note:- creating new contact add contacts :- Contacts-> Contacts->
click on add contacts -> fill all detail
->save
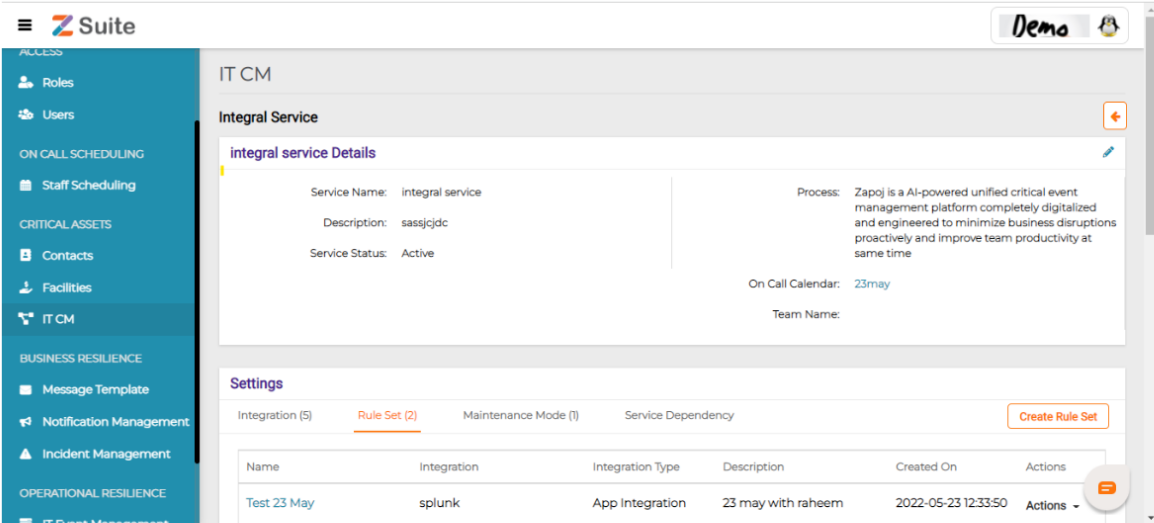
Now a new service created successfully
click on service that has been generated
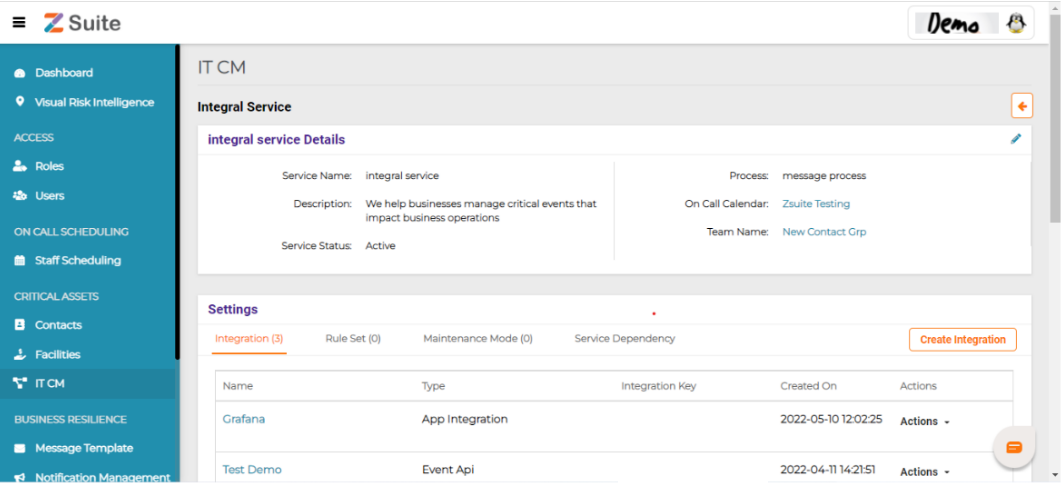
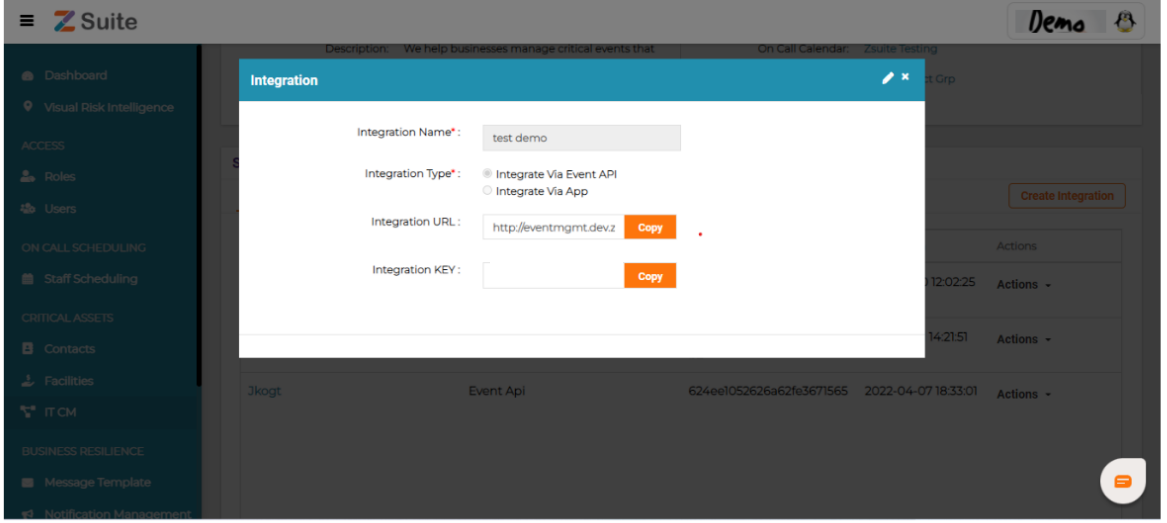
Integration-> Create integration-> fill integration name-> select integration via app-> Select App Name-> Save
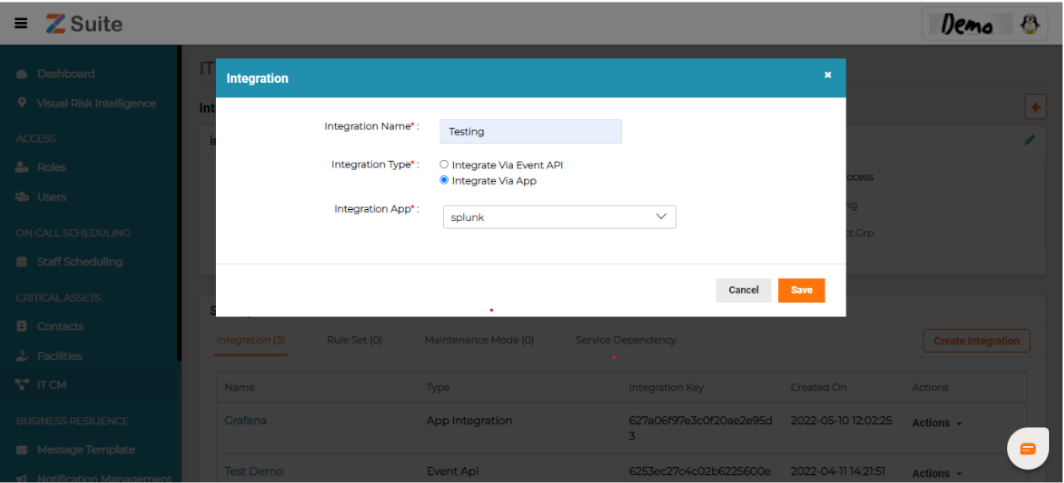
Service integration created automatically integration url and key
Now go to the webhooks page
Add new webhook url in webhook page
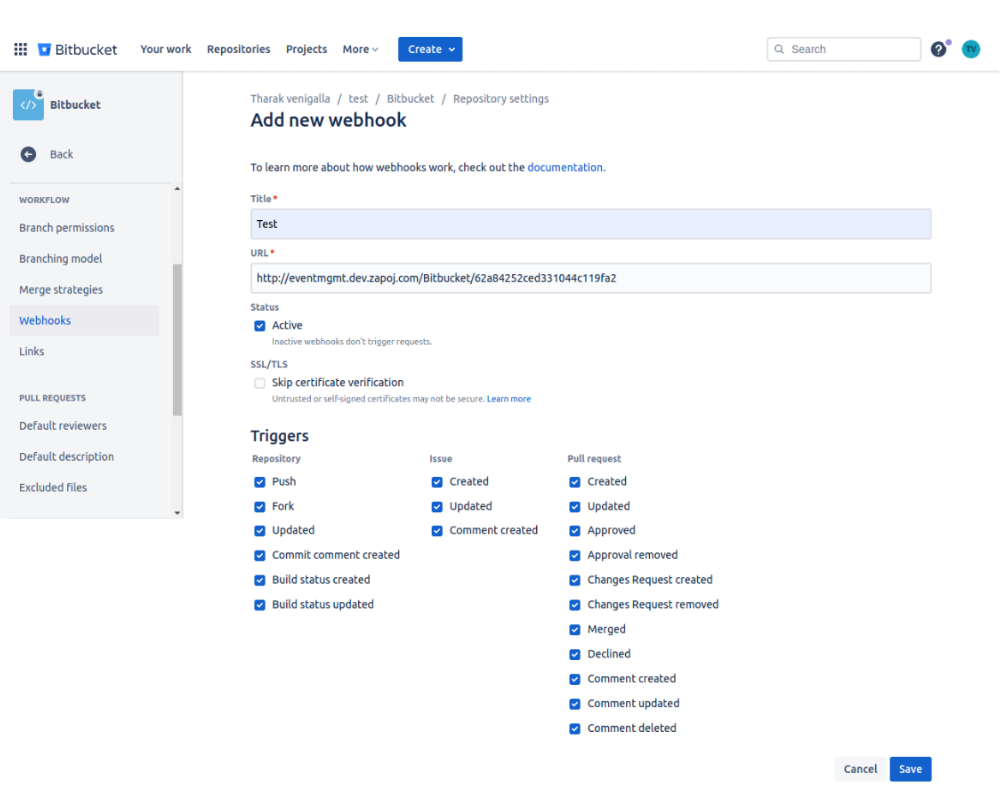
Here need to activate all triggers in webhook page.then save
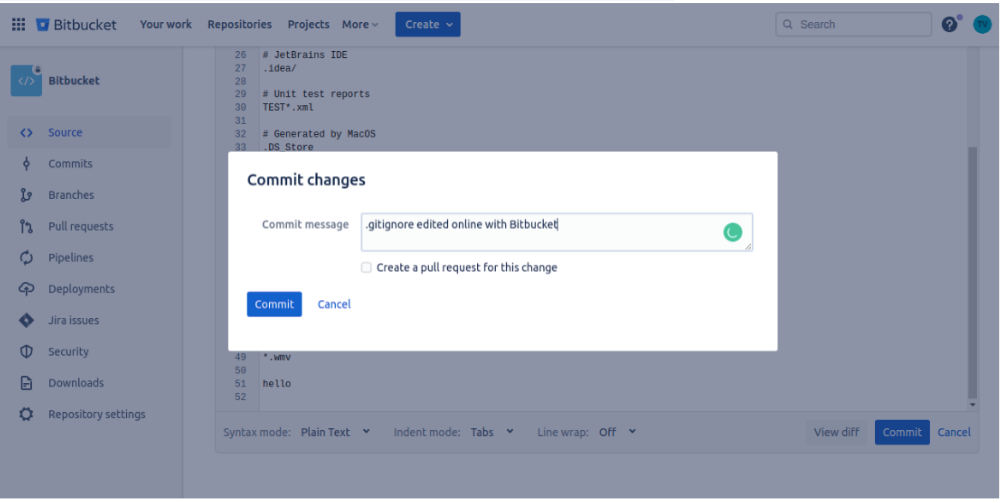
Now initiated pull request to new webhook.
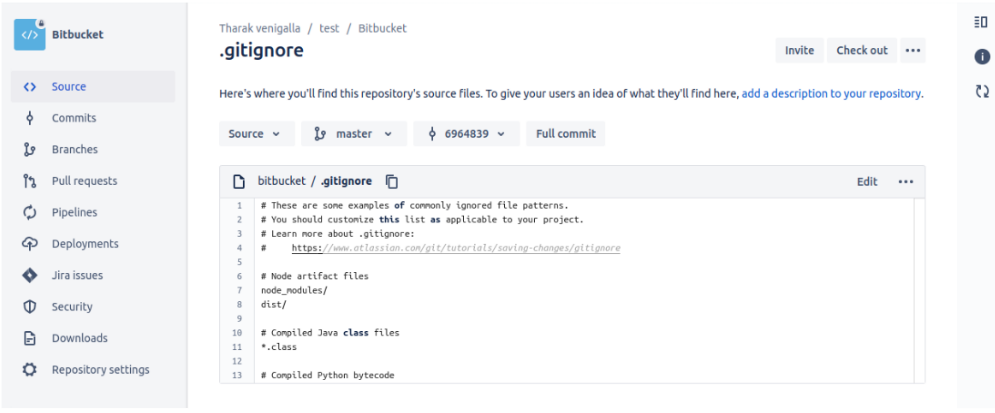
Here need to edit gitigore add valid information then commit
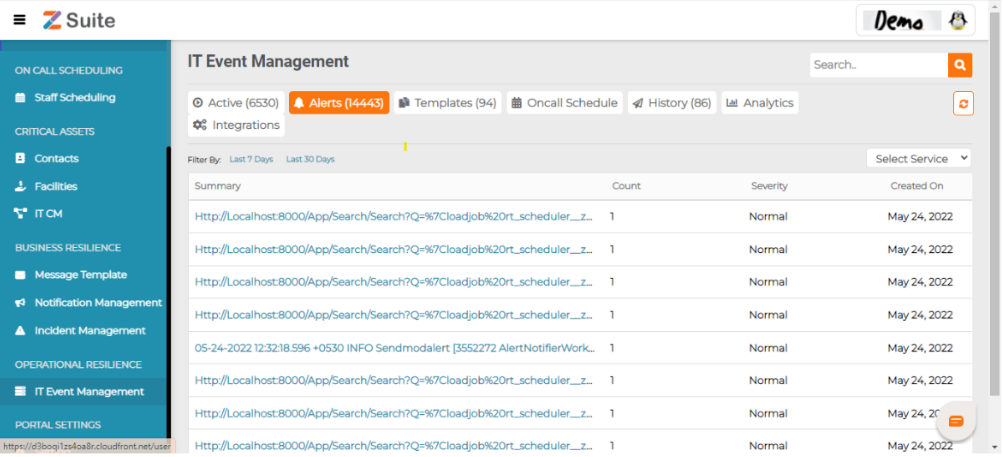
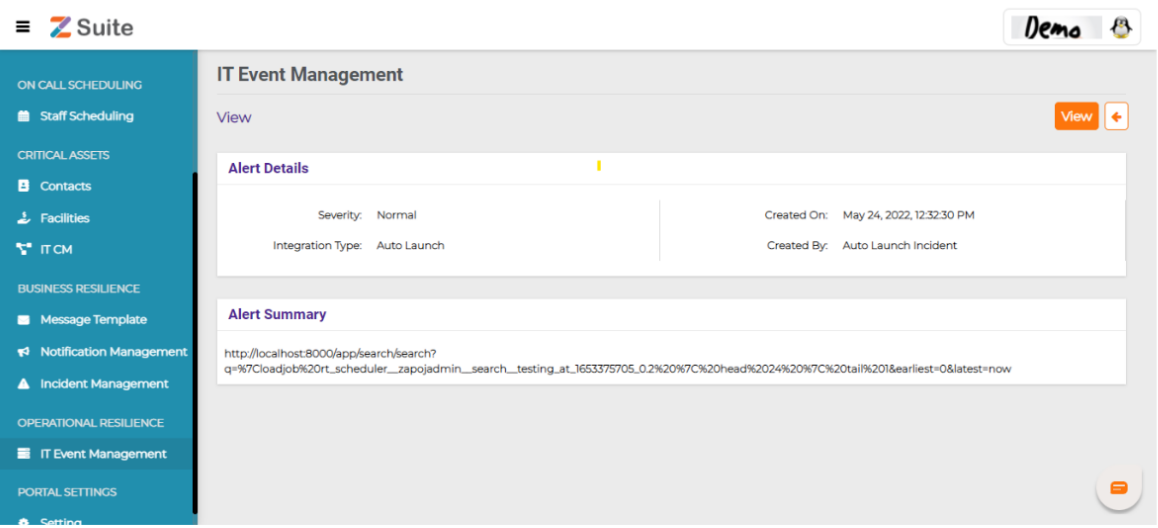
now we saw the notification of alerts in It Event Management-> Alerts
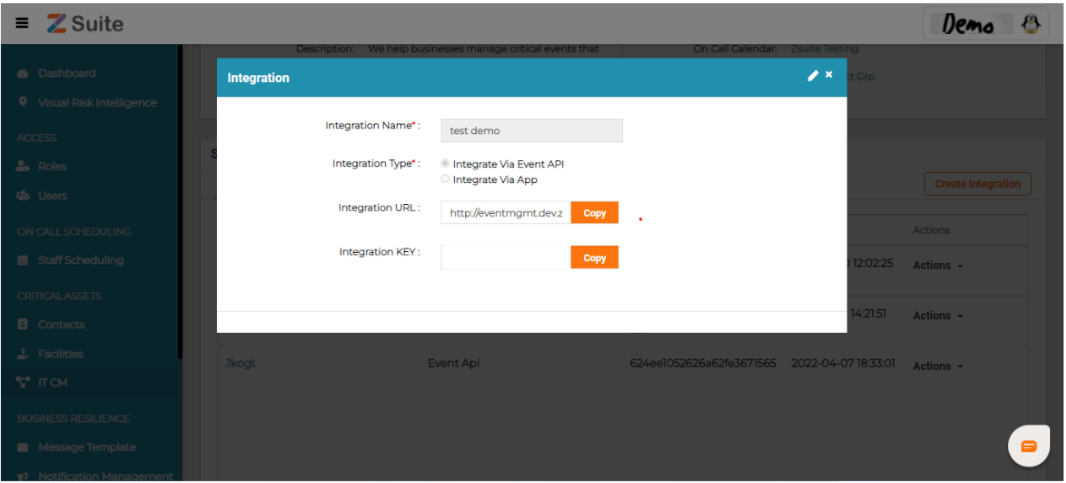
Note:-> Webhook url It CM-> Services->integrations->Copy this integration url and add on alert webhook
Rule Set Creation In Zsuite :- Rules are created for filtering payload data.
Step 1:- It Cm-> IT Service-> click on any service-> Rule Set-> Create Rule