Notification Management
A notification is a message to provide the users with timely alerts, reminders, communication on threats, risk events, incidents, etc., Users can tap the notification to read and respond to the notification as appropriate.
Step by step process on “How to create notification templates” in Zsuite, Quick and Easy with this video.
There are various types of notifications like voice, text, e mail, push notifications, etc.,
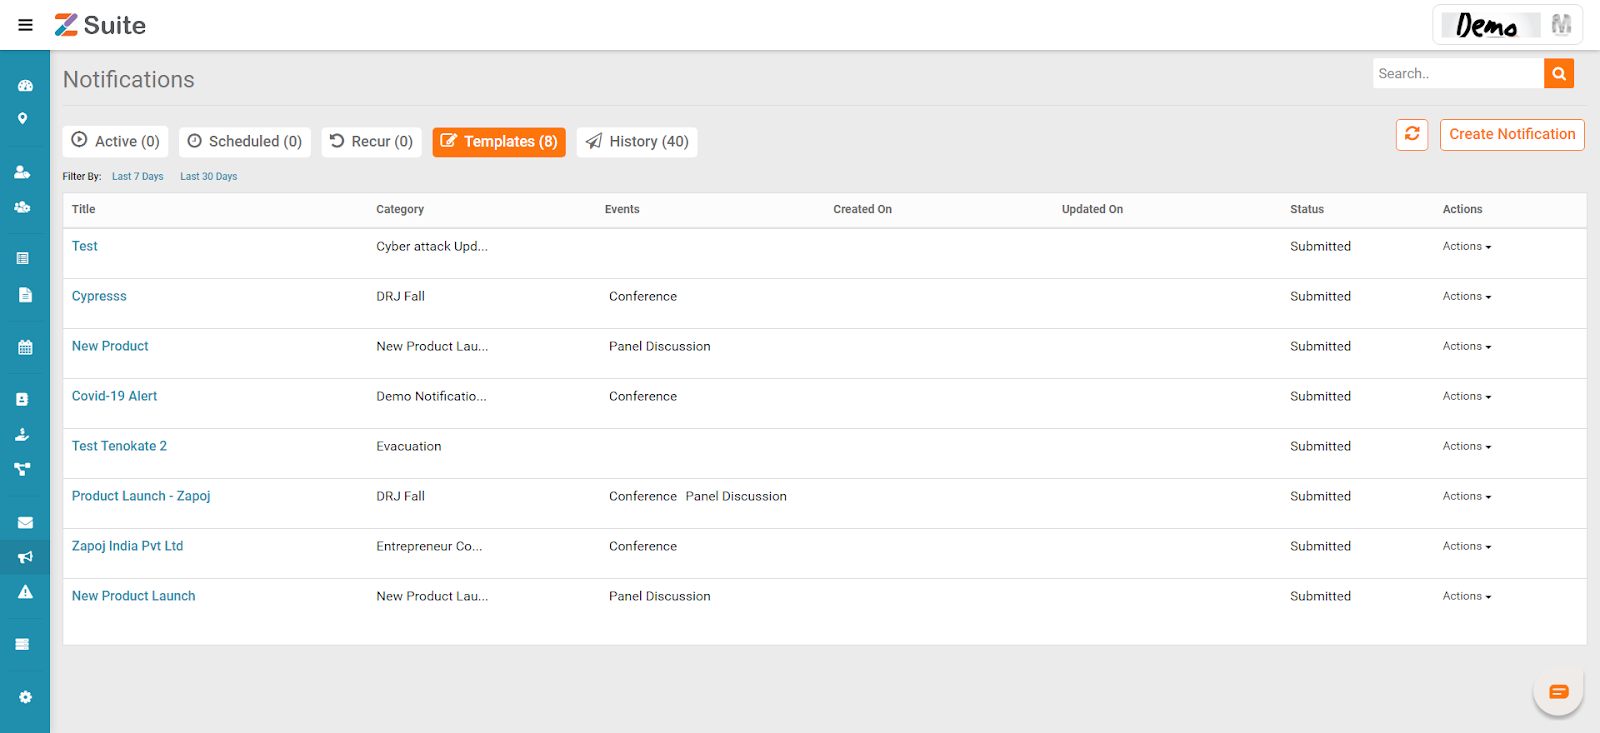
Templates:
All the created Notification Templates are listed here.
Creating a Notification:
On “Create Notification”, the user needs to fill in the Notification Title, Category Type, Event Type, Select Existing or Create Template, Responses, Select Contacts, and Settings.
Notification categories allow your users to manage notification settings for each category that you have defined. Example: “Weather Alert”, “Fire Safety”, “Cyber Event”, “IT Downtime”, etc.,
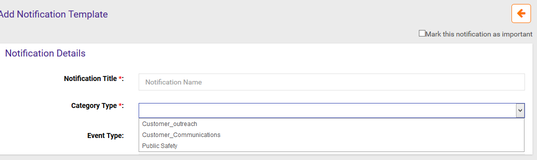
Add Notification Template
Notification Title: The user can enter the Notification Template Name.
Category Type: Select the Category Type from the dropdown list
Event Type: Select the Event Type from the dropdown list.
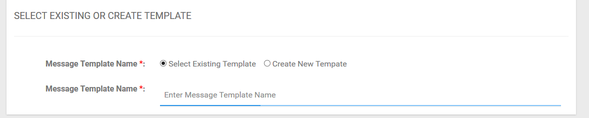
Select Existing or Create Template: Select Existing Template/Create New Template from the Radio buttons.
Responses: Select the Responses as Two Way/One way from the Radio buttons.
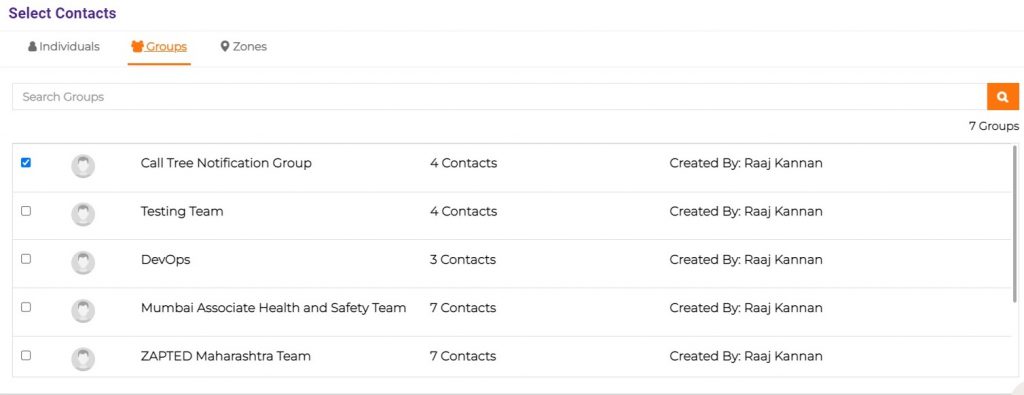
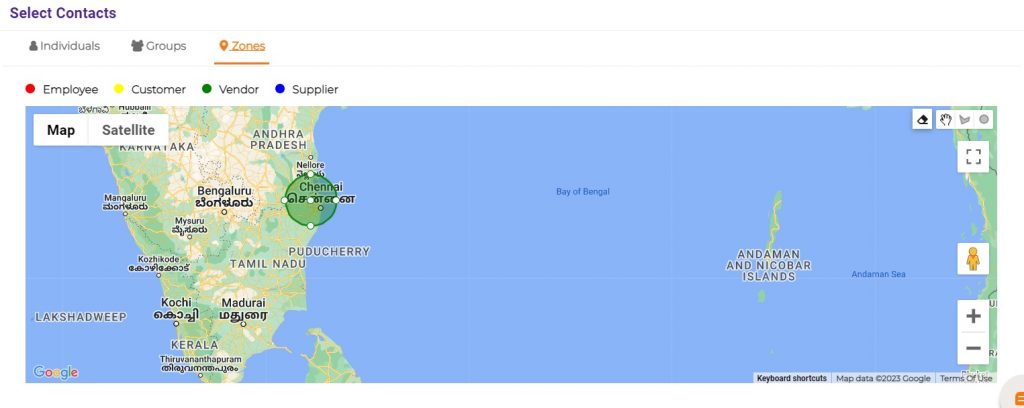
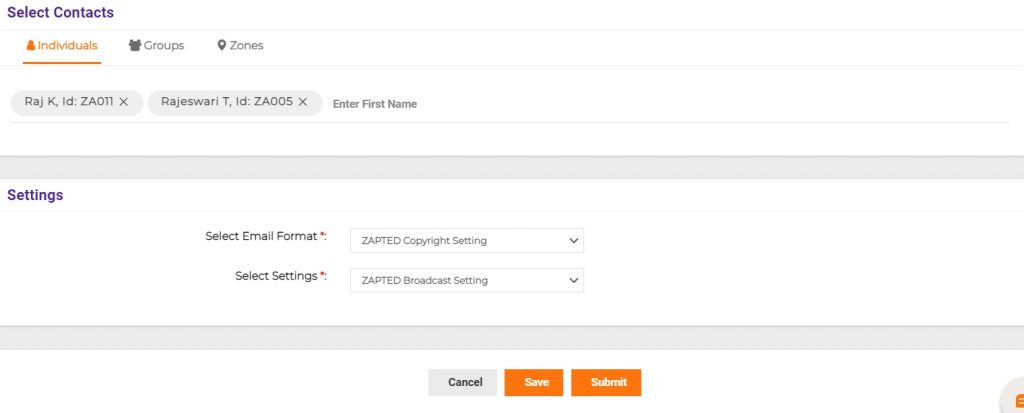
Select Contacts: Select Contacts as Individuals/Groups/Zones.
Settings: Select Settings Email Format and Settings from the dropdown list.

Click on the “Create Notification” button to create a notification template. Firstly, you have to give Notification details like Notification Title, Category Type, and Event Type.

Notifications can be sent on Natural Disasters, Power and Infra Outages, Technology Failures, Work Health & Safety Events, Geo / Socio Political Unrest, Transportation and Logistics Failures, etc.,
Choose the “Category Type” and “Event Type” that you have already created as a part of Settings.
To create a notification the next step is to “Select Existing Template” or “Create New Template”.
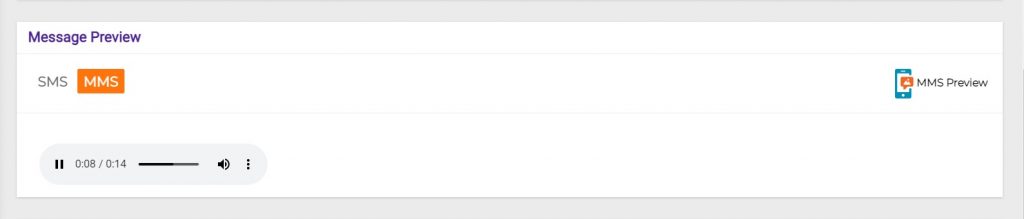
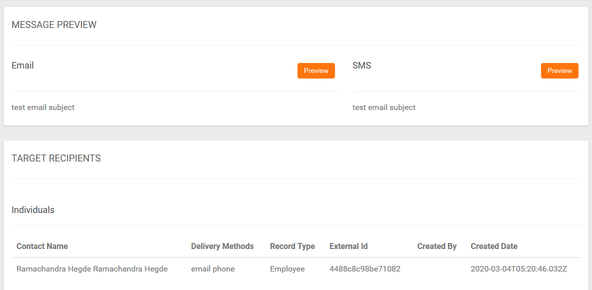
After selecting a template, you can view the message preview as below.

You can check the text to speech or recorded voice in the MMS preview.
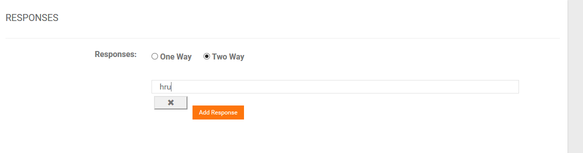
After selecting templates, you can select the user responses option for “One Way” or “Two Way”. With a one-way notification, you can send a message to the recipient, but would not be able to get specific responses from them.
Two-way communication always includes specific responses or feedback from the receiver and helps the sender to take appropriate support measures. This also helps in conducting targeted surveys and polls.
Example: During disaster relief operations, to ensure whether people are safe the recipient response options can be sent as “Am Safe” and “Need Help”.
On an organization vaccination campaign, to ensure whether employees are vaccinated the recipient response options can be sent as “Vaccinated with Booster Shot”, “Vaccinated with No Booster Shot”, “Vaccinated with No Second Dose”, “Not Vaccinated”.

By selecting “Two Way” you can provide multiple user response options as required to get respective response input from the user. i.e. Recipient can provide the appropriate response to the Notification (or message) you have sent.
Then select the required Contacts, Email Format and Broadcast Settings, and click submit.

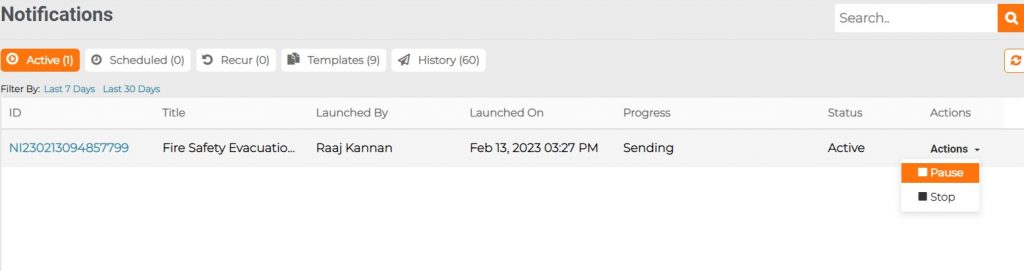
Active:
By clicking on the “Active”, you can view all the notifications which are currently active. When there are no active notifications it will be an empty page. Using the pause or stop option you can respectively hold the active notification from sending temporarily or permanently.
Scheduled: By clicking on the “Scheduled”, you can view all the notifications scheduled for future. When there are no scheduled notifications it will be an empty page. Using the pause or stop option you can respectively hold the active notification from sending temporarily or permanently.
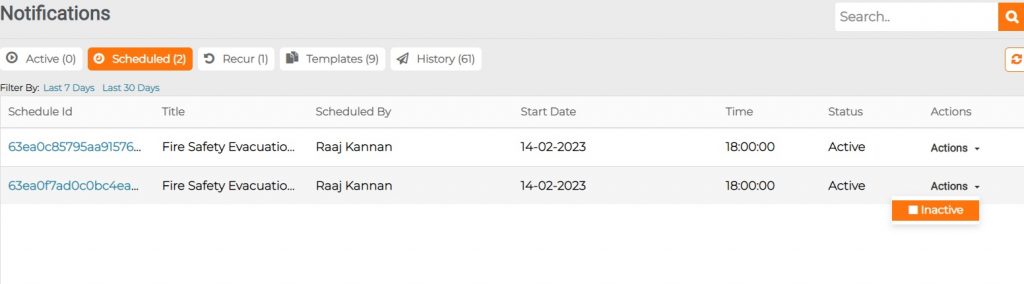
Under Actions menu, you can select “Inactive” to deactivate a schedule or select “Active” to activate a schedule.
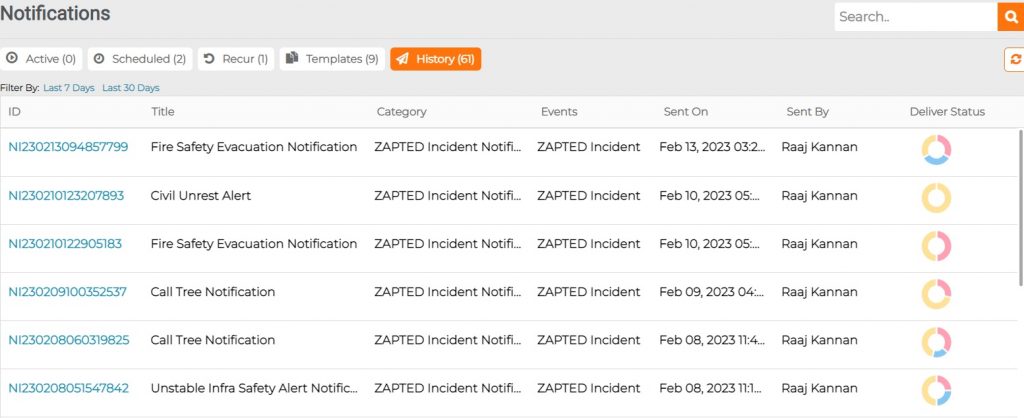
History:
By clicking on “History”, you can view the historical notifications sent previously like last 7 days or last 30 days with Notification ID, Title, Category, Event, Sent On, Sender Name and Delivery Status (with respective mode of delivery like phone, SMS, and Email on mouse over).
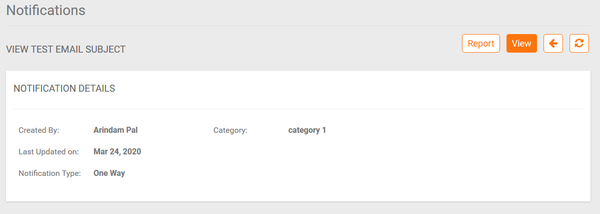
View History:
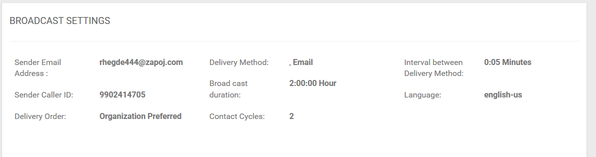
Click on the “ID” to view the details of the Notification. Here you can see Notification details, Message Preview, Target recipients and Broadcast settings.
Notification Report:
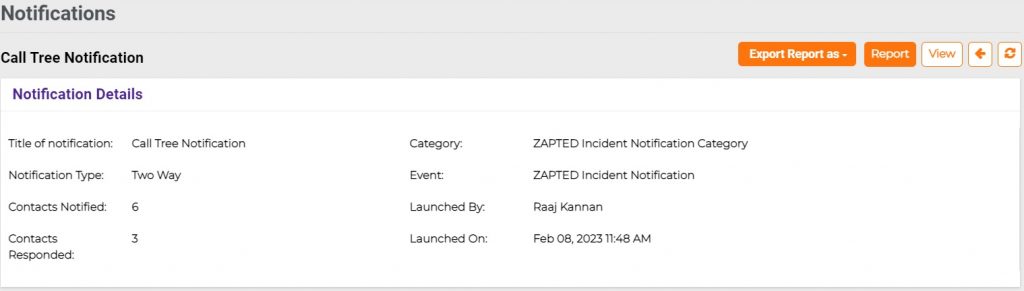
The notification report lets you know the delivery success rate and status of the message notification that you have sent to one or multiple contacts.
In a notification report, you can see the high-level stats like Notification Title, Type of Notification, Number of Contacts Notified, Number of Contacts Responded, Notification Category, Launched By, Launched On Date, When it started sending, Time taken to complete sending.
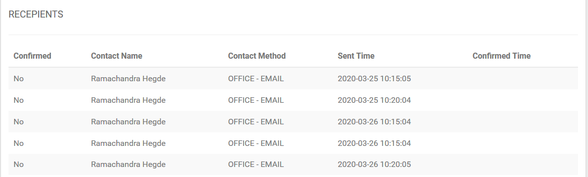
Here you can see the details of the Delivery paths, Delivery status and Recipients.
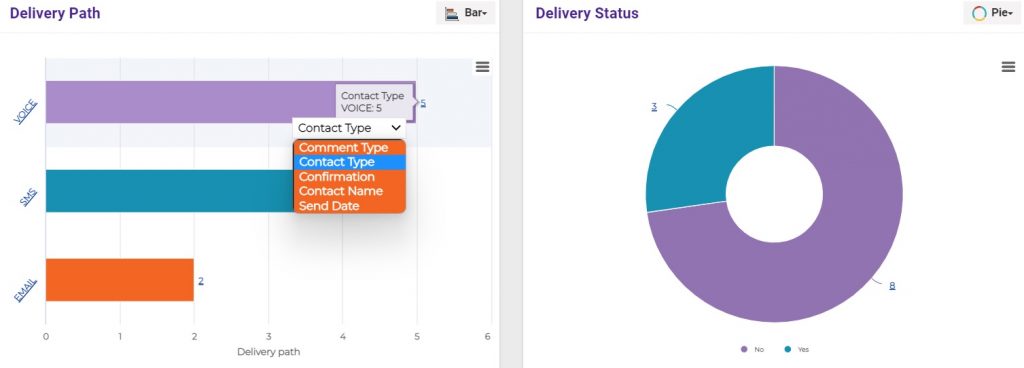
You can select and view both Delivery Path and Status charts as Column, Line, Pie, Bar, Polar and Tree Models.
You can filter and view both Delivery Path and Status charts by Comment Type, Contact Type, Confirmation, Contact Name, Send Date.
If the message is sent as a two way notification, in Delivery Comments section, you can view graph by User Response. Example: If the response options are Two Dose Vaccinated. One Dose Vaccinated and Not Vaccinated the responses for each option can be viewed.
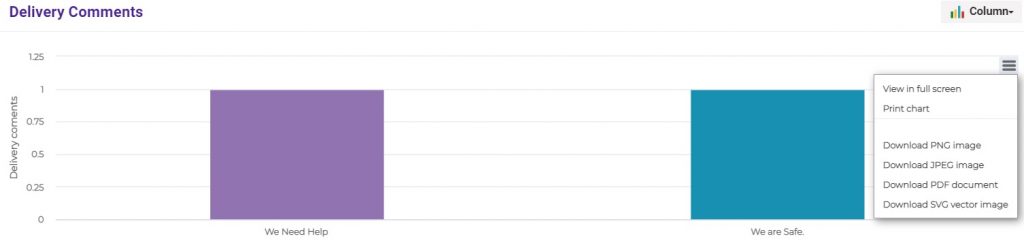
Using the options on the top right, You can view the graph chart in full screen, print chart or download as PNG, JPEG, PDF, SVG Vector Image.