
Members Feature:
Click on the menu icon displayed in the left side of Zsuite logo and select “Members” from the menu options
Generate Members:
By clicking on the “Generate Member’s” button on the right top, a User can create new “Members”.
Here Users can generate members by “Select Existing Filters” or “Add Contacts Individually”.
- Select Existing Filters: Users have to select from the filters shown.
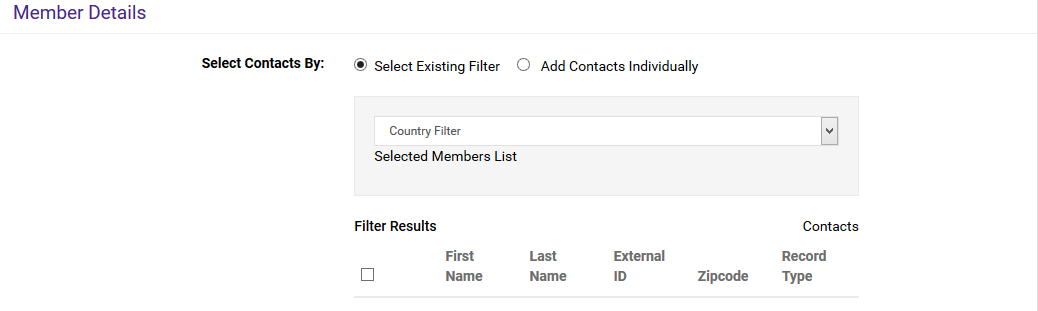

Click on “Generate Member IDs”.
- Add Contacts Individually: Select from the list of Contacts available. Click on “Generate Member IDs”.

Users can see the “Members” on the page.

Work Spaces Teams:
Users can generate “Teams” here. Click on the “Add Team” button.

Users will be directed to the “Create a Team” page. Users have to give “Team Details” and “Select Members”.
In “Team Details”, “Team Name and Team Description are mandatory”. Team Picture is optional.

Select the members to form a “Team”. Users have to select the “Team Manager” from “Assign Role”. Click on “Create Team” to create one.
Note: “Users cannot form a Team with single Member”


After successfully creating a Team, the User can see and have a look on “Team” in the “Work Spaces Teams” tab.

Editing the Members:
If the user wants to “Edit” the details of the “Members”, there are two ways.
- Click on the “Members” tab on the “Members” page, click on “Actions”, a dropdown will appear with two options “Edit” and “Delete”. By clicking on “Edit”, the user will be redirected to the Members information page. Edit the details and click on “Save”.


- The second way to “Edit” is click on the “Member ID”, the user will be redirected to the member information page, then click on “Edit”, edit the details and “Save”.


Assigning Role:
We can assign a role to the existing member at any point of time. To assign a role, click on the respective member id and click on the Edit tab as shown in the above images.
Then under the Role Assigned section, click on the Assign More Role tab which is on the right side of the same window.

Now select the preferred role from the dropdown and click on the Save button for saving the changes made.

Deleting the Members:
If the user wants to “Edit” the details of the “Members”, there are two ways.
- Click on the “Members” tab on the “Members” page, click on “Actions”, a dropdown will appear with two options “Edit” and “Delete”. By clicking on “Delete”, the user will be deleted.
2. The second way to “Delete” is click on the “Member ID”, the user will be redirected to the member information page, then click on “Actions” and then “Delete”.


The member will be deleted from the list.
To know more about Members, click on View more. You will be directed to the below page.

This is the place where you find the details of the members in the Organisation. The details you find here are Profile Picture, Member ID, First Name, Last Name, Email, Phone, Last Login and Actions like Edit and Delete.
Viewing Member: By clicking on the “Member Id” you can view the General Information of that Member.

ID: This is the ID given to the member.
Name: Name of the member.
Devices: This gives you the information of the devices that the member logged in. For example, phone, Laptop, iPad etc.
Phone: Phone number of the member you selected is displayed here.
Designation: Here is the designation assigned to that member.
Status: Status of the member is shown here as Active or Inactive.
Email: Email address of the selected member.
Organisation hierarchy:
Member Groups:
Editing Member: You can add the details of the member, which are not given when the contact is not created. For this member designation

For “Designation” and “Report to” there are drop buttons available, click on them you will find the designations and report to members add them and “Save”.